The Bean is my first attempt at making a large power kite. It's primary function will be to serve as a motor for Sandra's Mountainboard. Bean's can be made in different sizes. I have started with a small one (for the learning effect). On this page (see below) you can see a photo report.
Detailed building instructions for the Bean can be found in the Handboek (which is a must for anybody who owns/flies/likes/makes kites!).
In case of any comments/questions/improvements please don't hesitate to email... I will make the comments available on the Alternatives page!
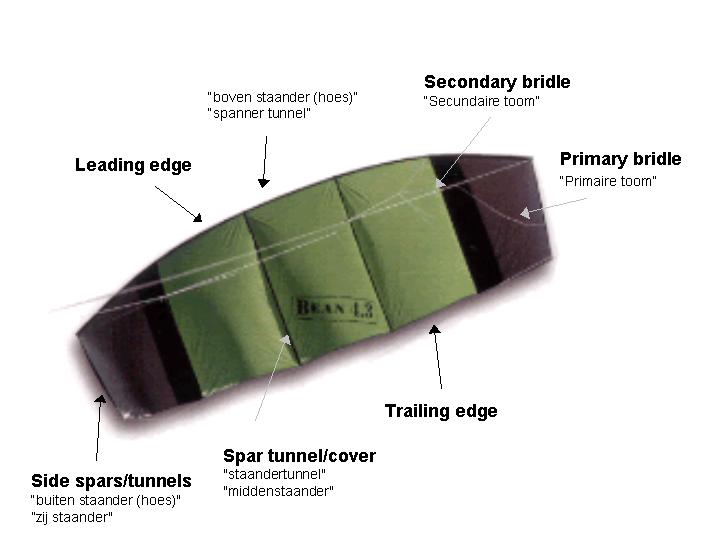
(PS you can click on the bean in the right top corner for more explanation on used terms)
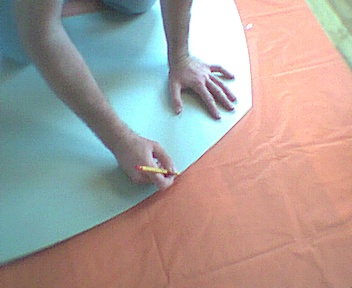
 The first step is applying the template on a piece of cardboard (karton). Use a pencil so you can correct your mistakes (bound to happen!).
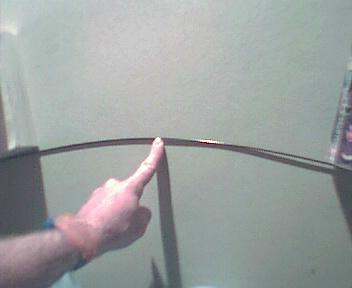
For the curved shapes you can use a thin fiber or carbon rod, which you bend in the correct shape, use the pencil to trace the rod.
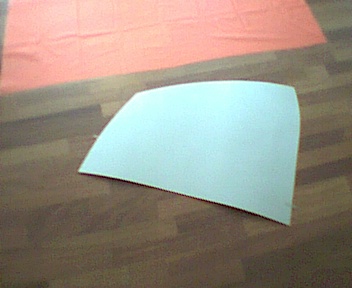 Finally, cut the template with a GOOD scissor.
PS please note that the template is without the seam allowances (see step 2).
 First I tape (with some sello tape) the cardboard to the chikara on 2 places (you can vaguely see the sello tape on the picture under step 1). To transfer the template to the Chikara I use a pencil (pretty soft; HB4). It has the big advantage that you can correct your errors.
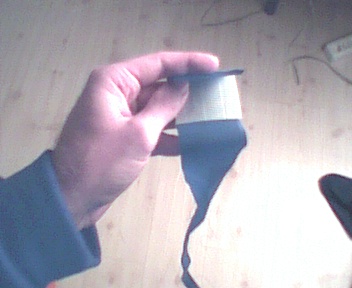
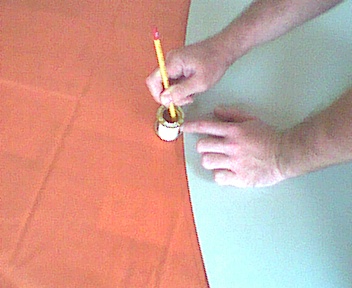 To transfer the seam allowances I use a small cylinder with a difference between the outer radius and inner radius of approximatly 9mm (some prefer 7mm). This serves as a "distance holder". You can also use a role of cellotape, or a ring, or .... (whatever does the job).
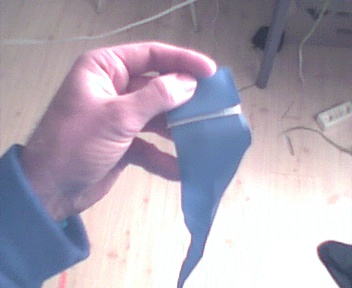
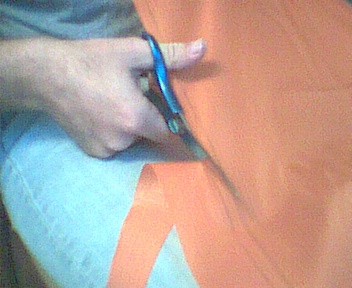 Cutting Chikara can be hard. The key thing here is A GOOD PAIR OF SCISSORS!!! When you buy your scissors take a piece of chikara with you. See which scissors slices through the thing like butter. With a good pair of scissors the cutting part is easy!
Some people like to use a soldering iron to cut their chikara... I personnally think you can do it as easily with scissors. It's healthier also!
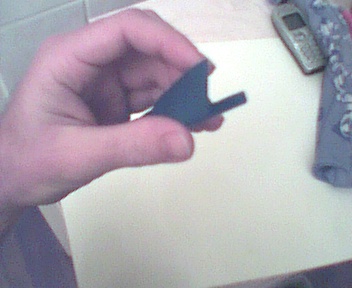
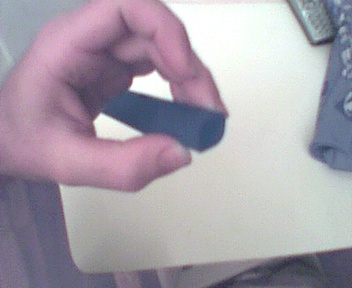
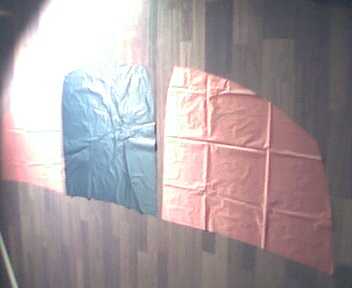 This is what the end result looks like.
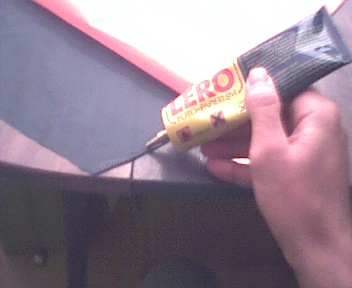 Before you sow a seam it's easiest if you glue the two parts together (with their back turned to each other!) with photo glue. This prevents the two parts from sliding (let the glue dry before you start sowing).
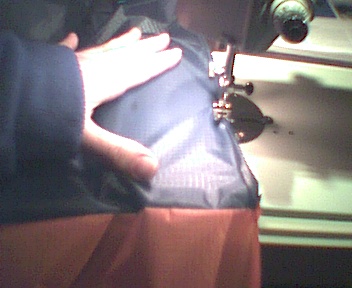
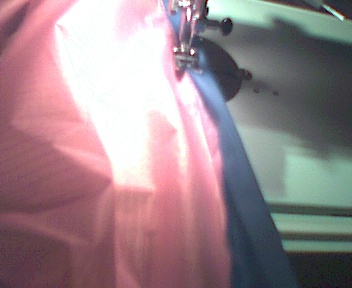
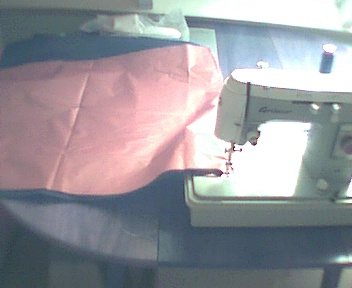 I use an old sowing machine. If you buy them second hand (the only way possible) they can cost you as less as 75 Euro (or 70 US$). They are much more rigid than new variants, and you don't need special stiches anyway, so why bother with a new one (which will set you back 500US$). Guide the fabric with two hands under the needle (using a stiching size of 2~3 mm). Use a needle with size 80 and synthetic thread (else the fabric and thread will extend/reduce differently when wet!)
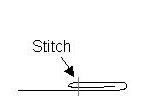
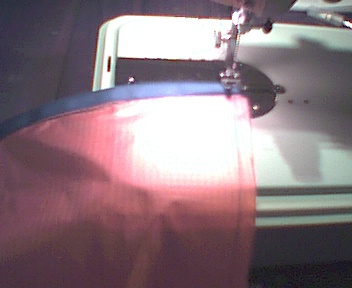
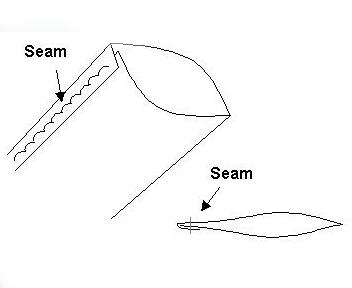
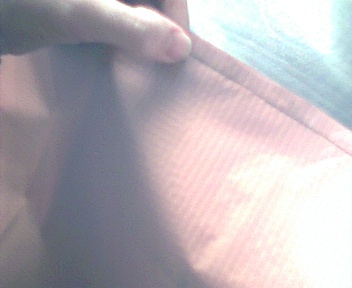 A nice simple seam.
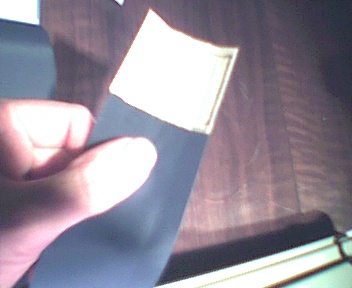
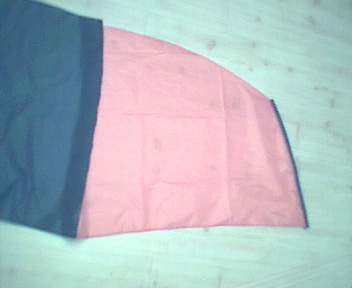
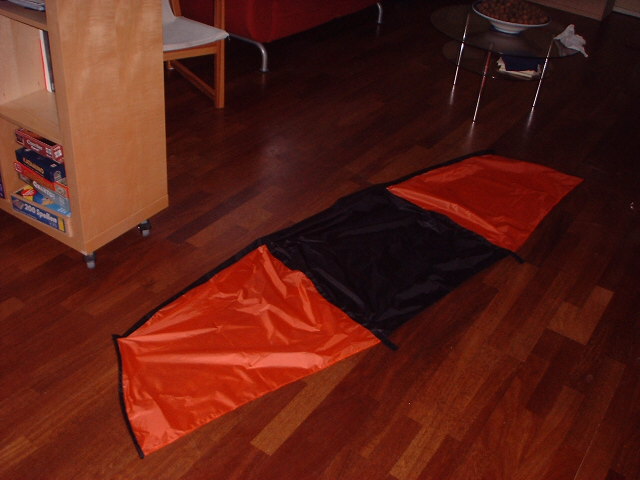
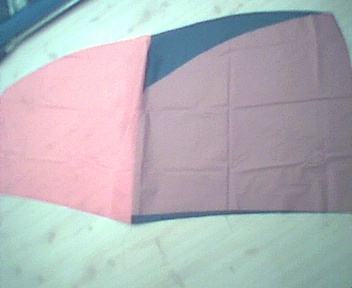 This is what the end result looks like (the left wing is folded back to it's final position).
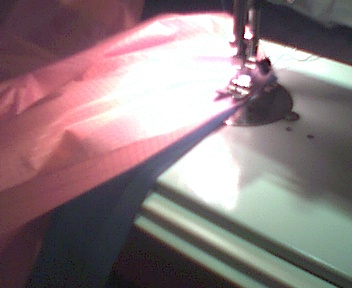
 Put a hem ("rol zoom") in the trailing edge along the width of the kite.
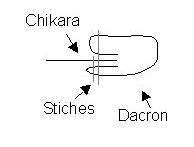
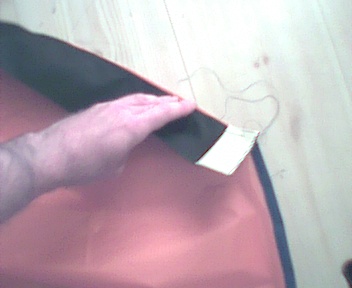
 Sew a small piece of Kevlar (5x5cm) on the Dacron strip.
 For the first part of the tunnel seam sew the backs of the CHIKARA (left/right-outside of the kite) to the back of the Dacron strip (start at the leading edge side of the kite, with the piece with the Kevlar). Stop around 10 cm before you reach the bottom. Then stitch another part of Kevlar aligned with the bottom of the kite on the Dacron. Finish the first seam.
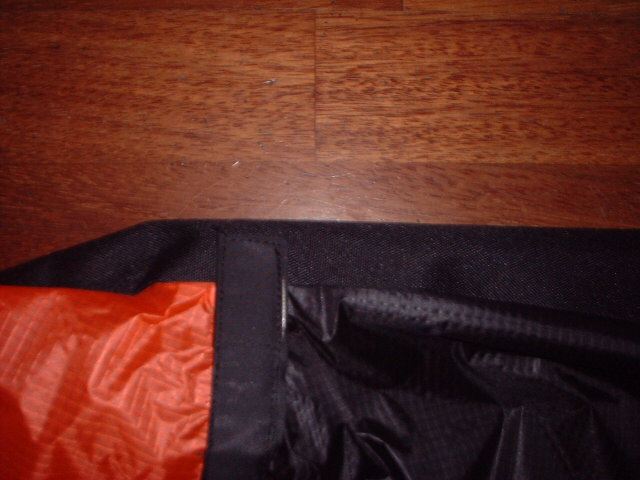
 For the second part of the tunnel fold the dacron until you get a sandwich with Dacron,Chikara,Dacron. Sew the second stitch, but stop 3 cm before the bottom (this is the place where you will insert/replace the spar later on).
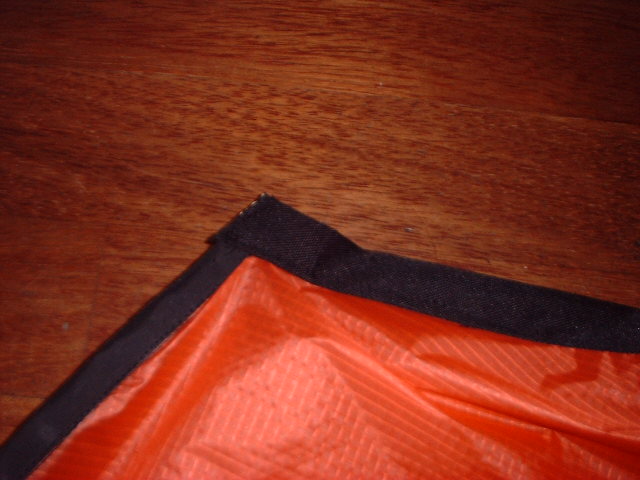
 Close the opening near the trailing edge with a seam (the opening near the leading edge will be closed later on).
 This is what the end result looks like.
 Fold the Dacron and place a piece of Kevlar (5x5cm) in the end. Sew a seam around the edges of the kevlar.
 Make a small kink (3mm) in the Dacron along the length of the sleeve.
 Fold the dacron in two, putting one end of the sleeve in the kink.
 Next, sow a seam on the dedicated place.
 Stich a piece of Kevlar on the end of a cordura band. Stich the cordura band with it's back to the back of the kite. When you reach the other end of the kite, stop and stich a piece of kevlar on the cordura band aligned with the end of the kite.
 Stitch the tunnelspars on the kite. Start at the top. Stitch a piece of velcron in the bottom of the tunnelspar.
 Finish the leading edge tunnel with a second seam (see step 6). You've got to skip the seam near the edges and the places where the spartunnels are placed (you would close the tunnel if you continued the stitch!).
 Close the end of the leading edge tunnel. Leave an open space at one side of the tunnel (approx. 5cm, 1 cm from the end), so that you can insert and remove your tunnel spar.
 The preliminary result!
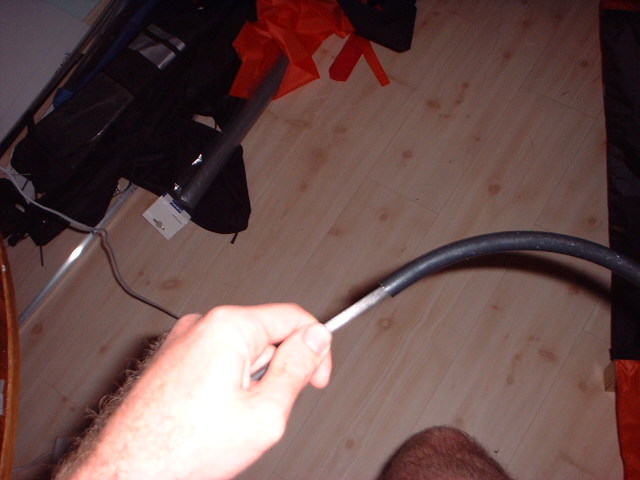 For the leading edge I used 3 pieces of 6mm Excel carbon rod. To connect the pieces together use a small piece of PU-hose (3~4cm). The spars in the side & middle tunnels are 4mm C-quad carbon/fiber combi's.
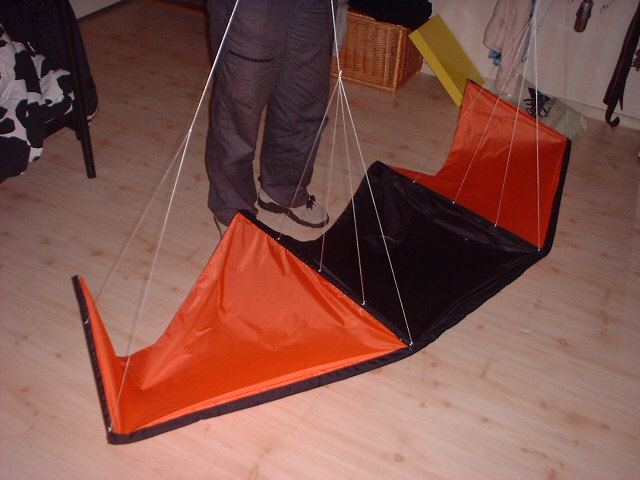
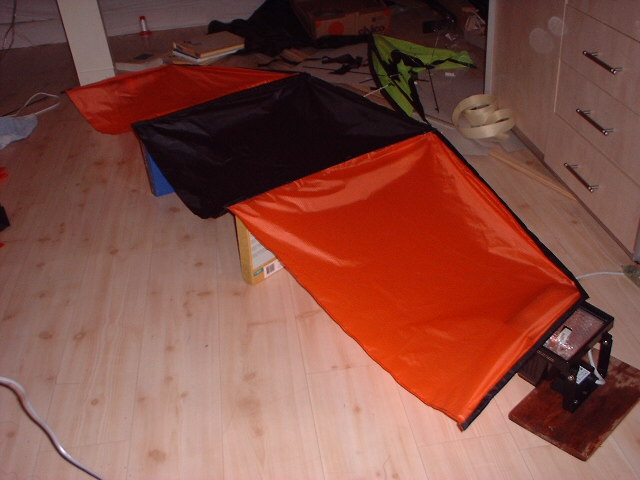 When all spars are placed the kite looks something like this.
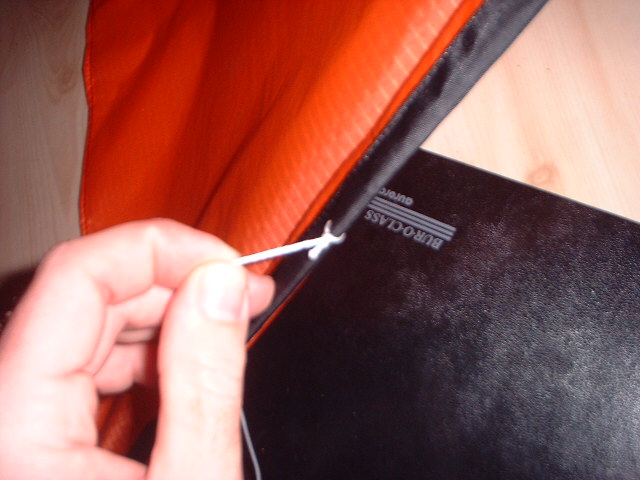
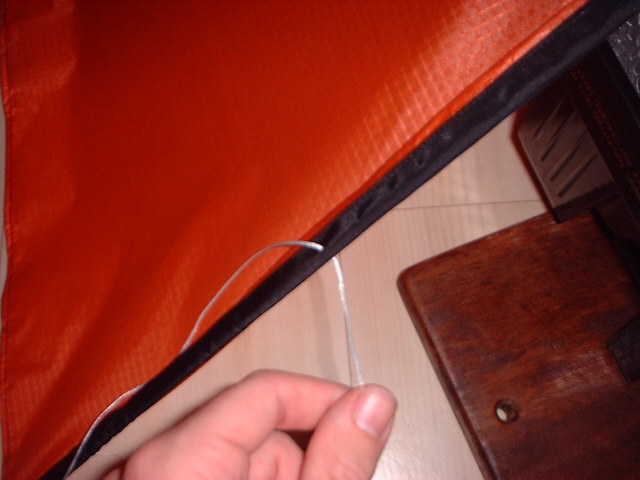 First cut the dyneema wire on the correct length. Then, use a needle to attach the dyneema to the tunnels.
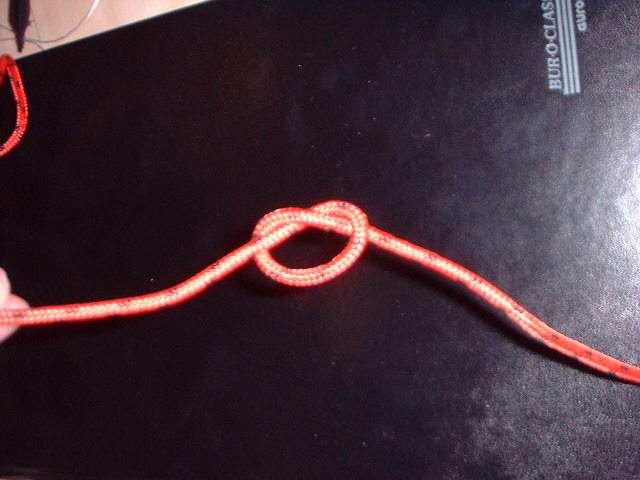 Melt the end of the dyneema wire with a lighter (don't set your kite on fire). Apply the indicated knot in the end of the line. Close the knot.
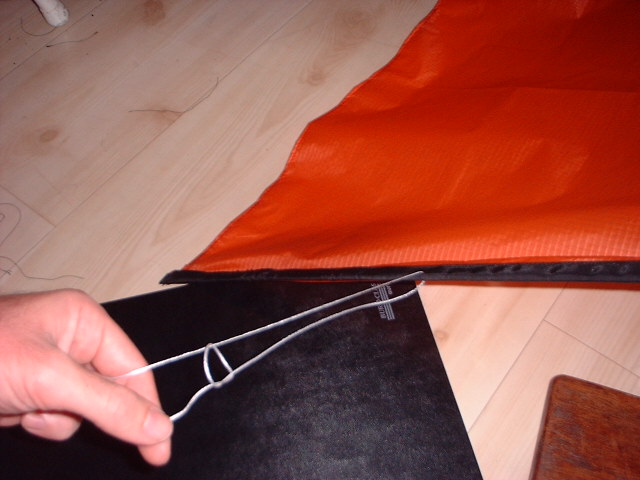 Apply the same knot to the wire but tie the knot around the other end of the wire.
 When you pull on the dyneema (on the top wire on the previous picture) the knot will tighten itself close to the tunnel.
 Attached the front bridle.
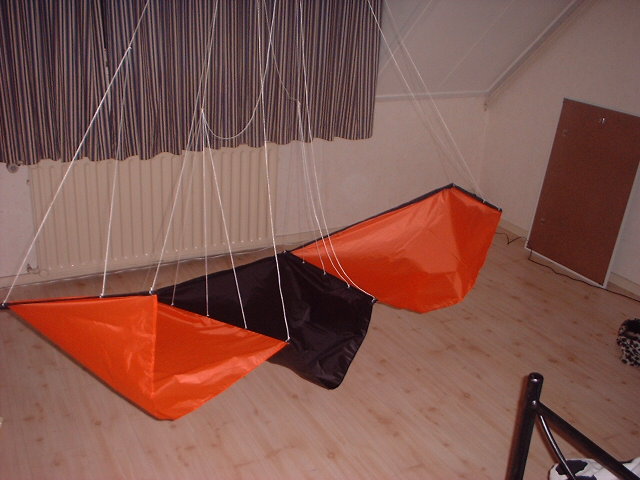 Added the brake bridle.
THE END!
