Junkie SF 20 (Trial version)
(PLEASE NOTE: I OMITTED THE CONNECTION POINTS FOR THE BRIDLE, I STILL HAVE TO BUY THE MATERIALS!)
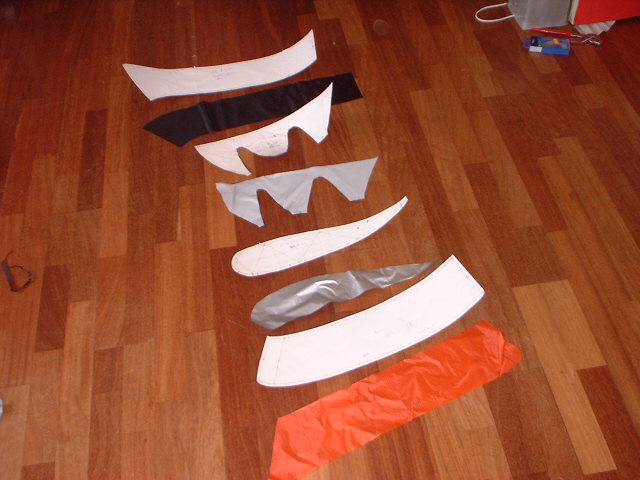
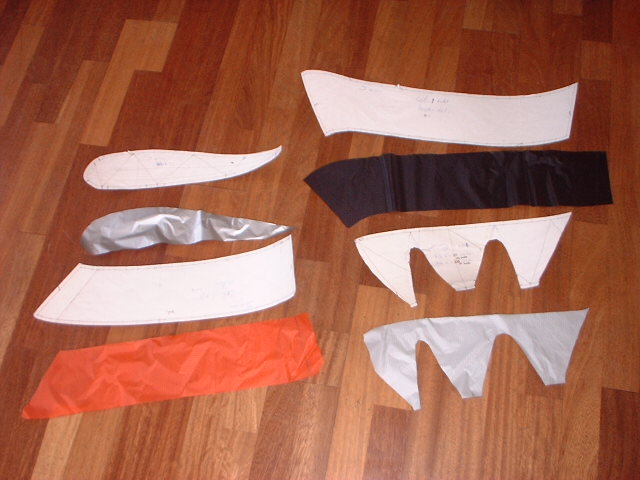
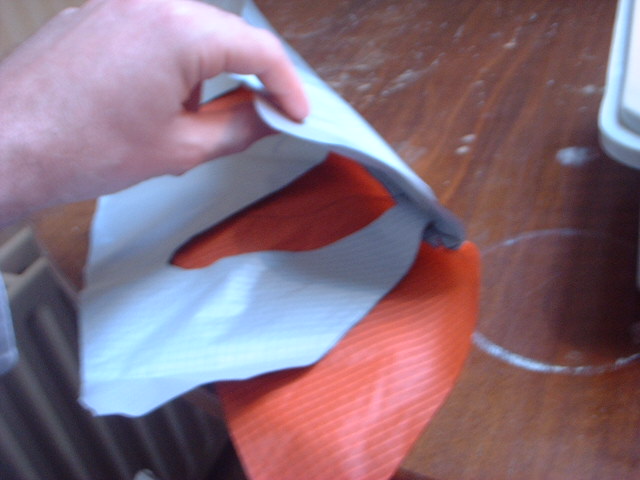
For the trail version I used different colors for the different parts.
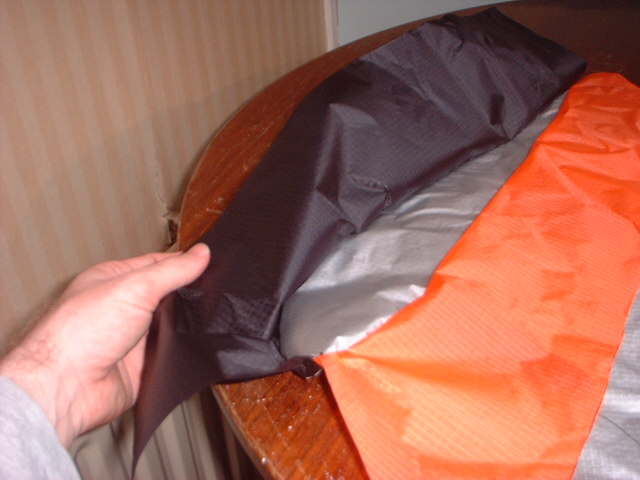
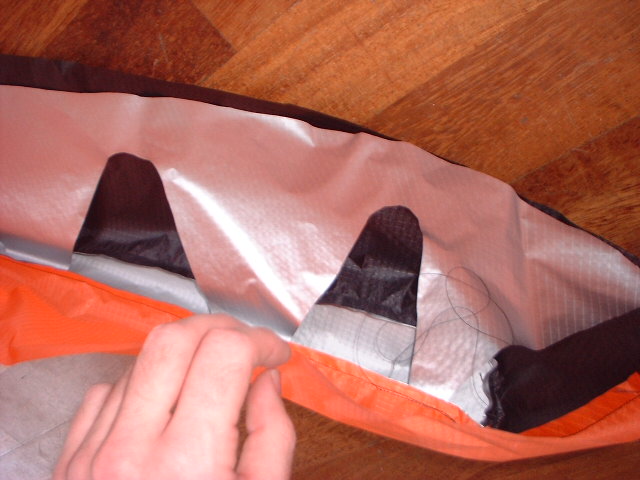
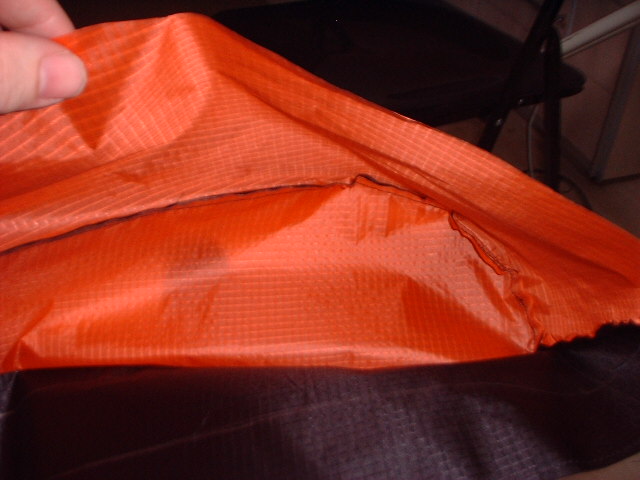
From top to bottom (left picture) you see here: upperdeck, D-rib, profile, lowerdeck.
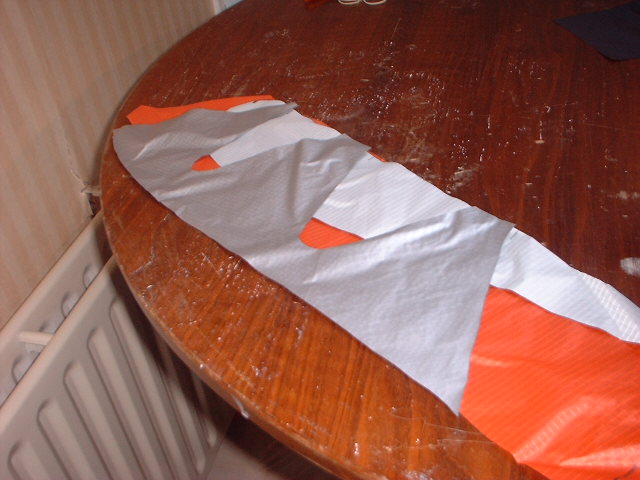
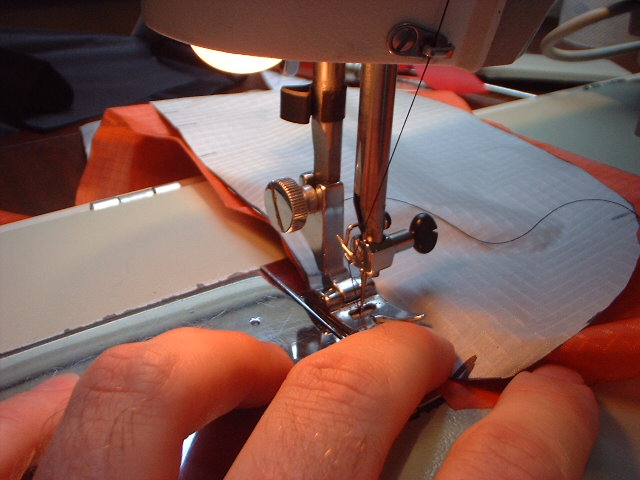
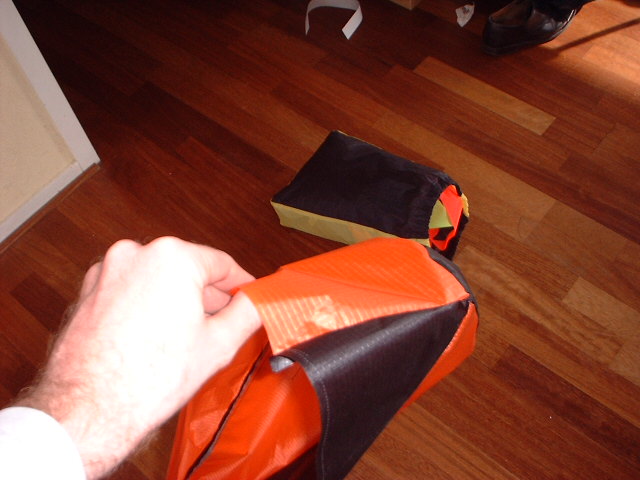
The first step: making the lower seam in the outer cell. This picture shows the lowerdeck (orange), the profile (dark silver), and the D-rib (light silver). You have to align them so make sure to mark them.
Correction!!!! First you need to sow the upper deck and lower deck together... I made a mistake!!!!
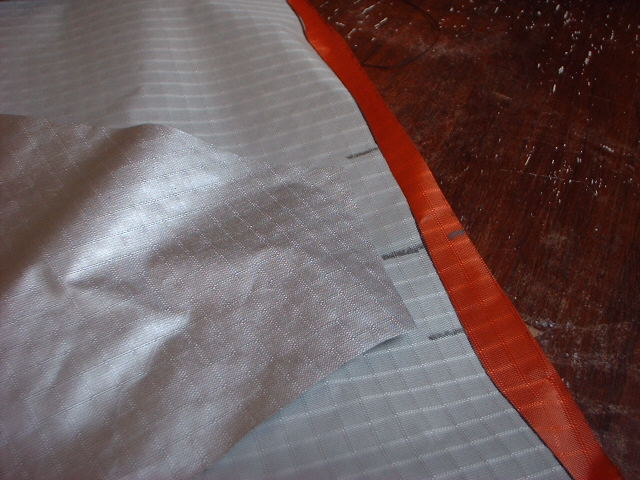
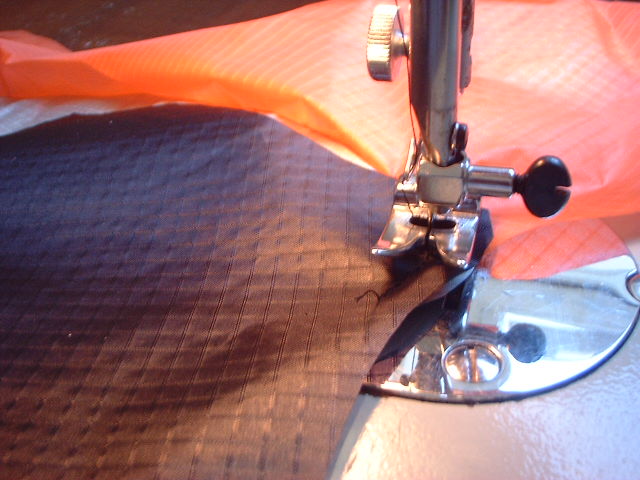
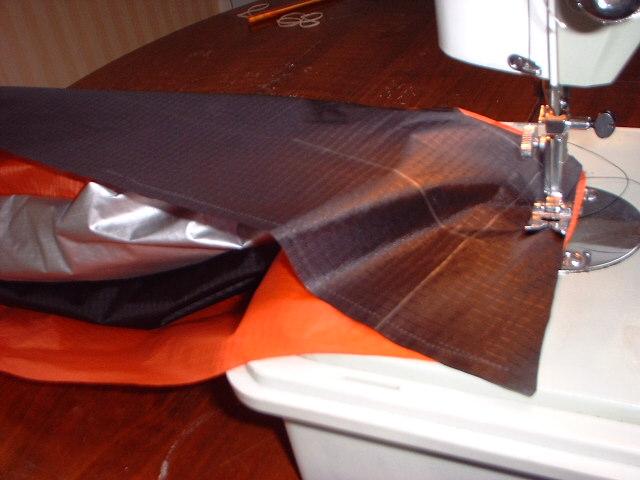
Start at the front side of the kite (the relativly blunt part of the profile). Continue until the trailing edge (backside of the kite). The first picture is a little bit misleading, the feet of the sewing machine is directed the wrong way. This is because you normally start a seam headed towards the start of the seam. When you reach the start you turn and continue until the end (effectvily doubling the first piece of the seam). This prevents the seam from loosening at the start (do like wise for the end).
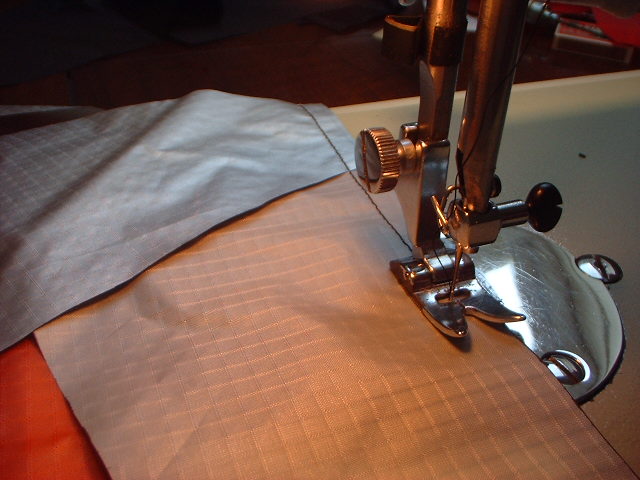
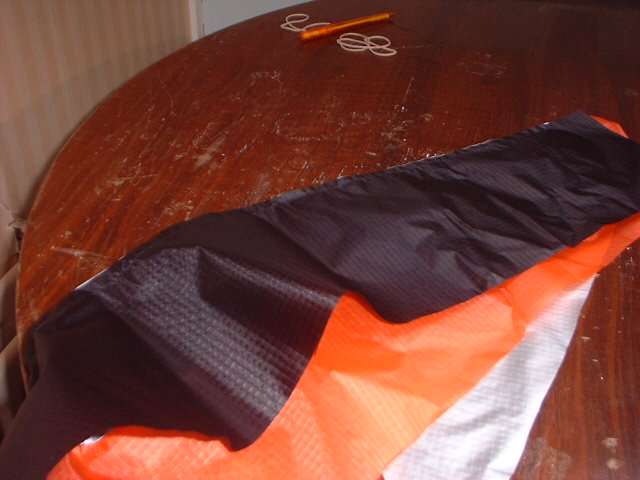
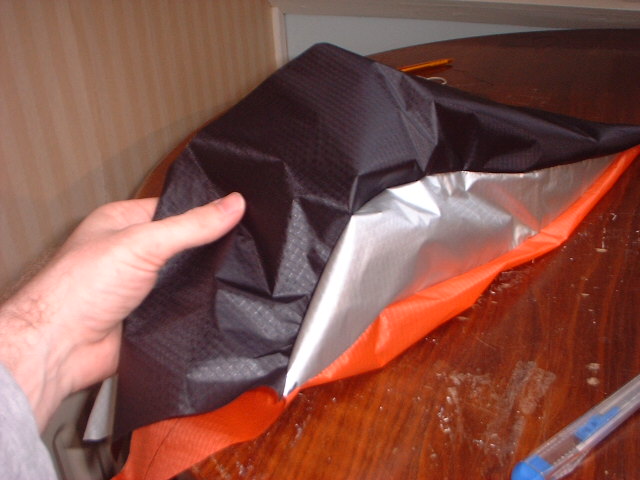
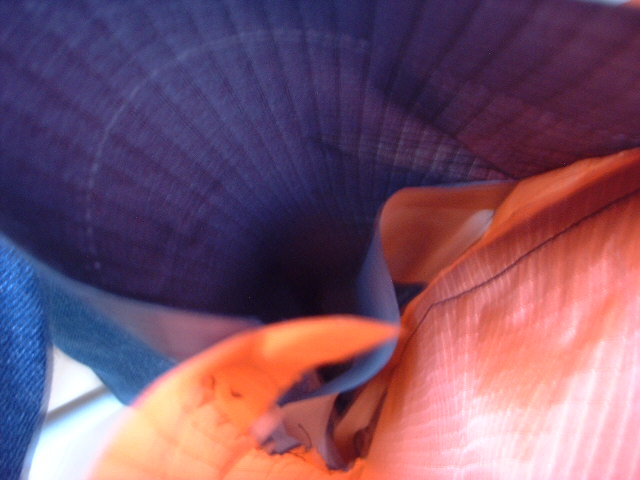
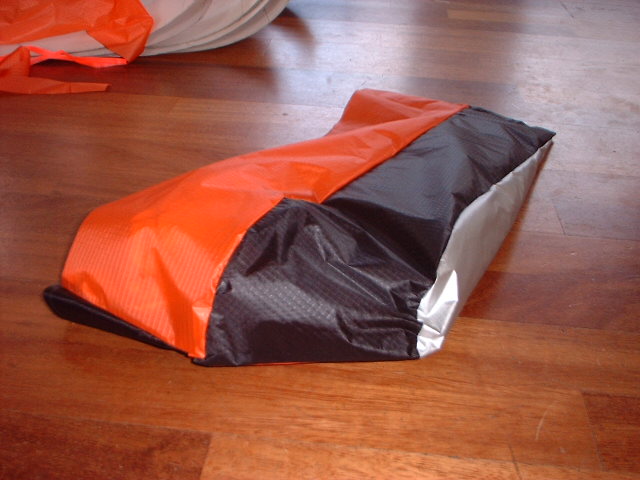
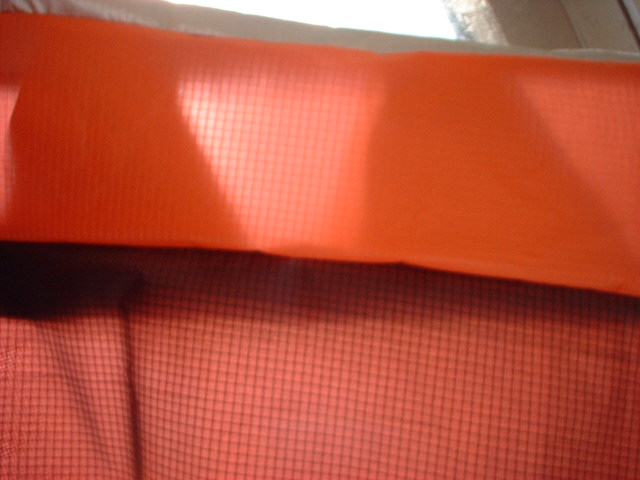
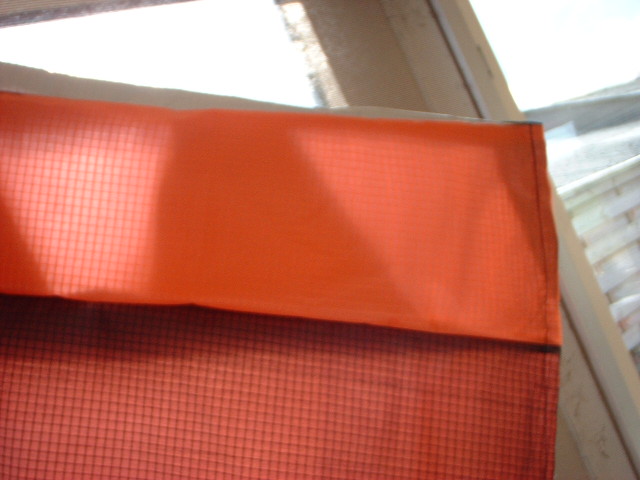
The result. The trick here is to do everything inside out. You want the seams to be on the inside of the kite. So after you finish the seam you turn it inside out and the seam is on the inside! In the second picture you can also see that the sequence is changed now. First you have the lowerdeck, then the D-rib and then the profile... It's all because you're working inside out!
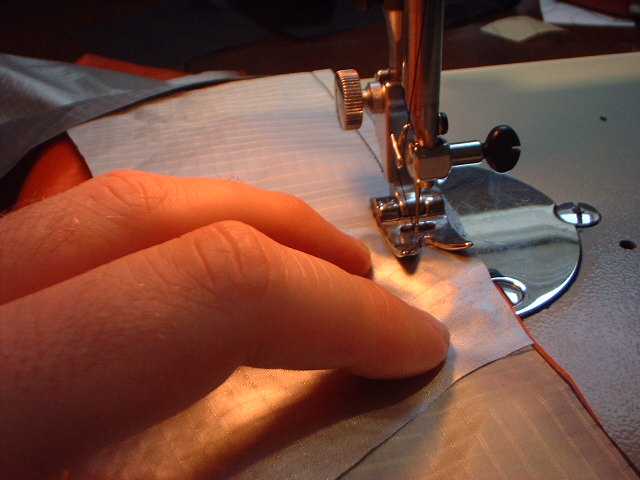
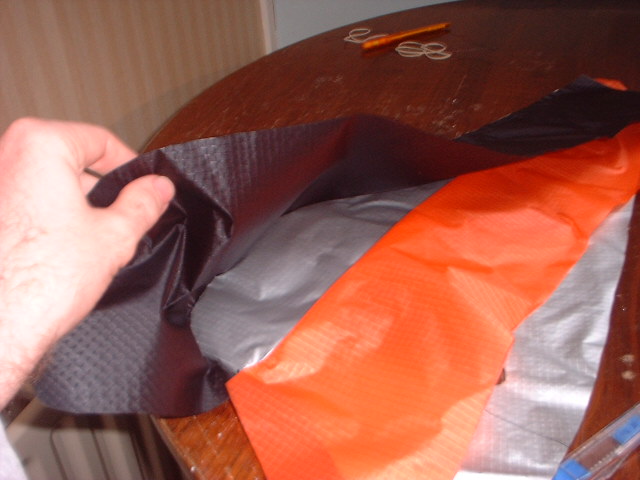
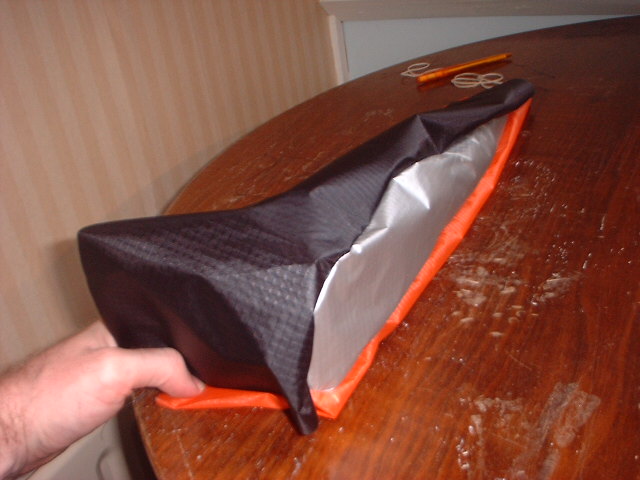
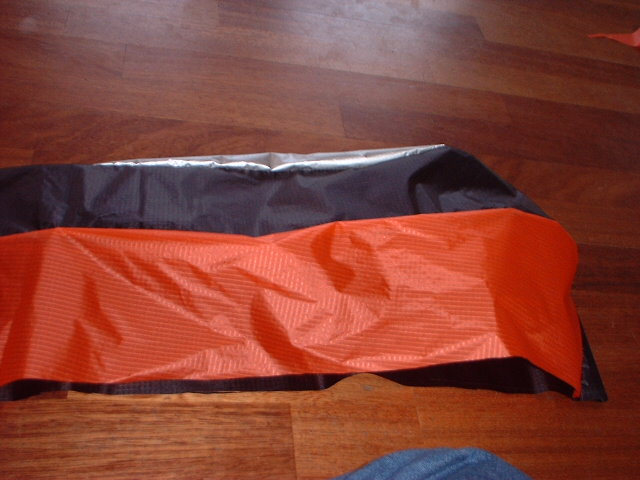
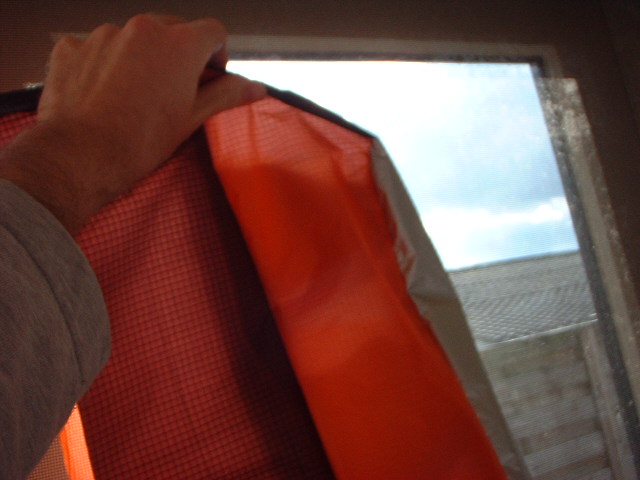
Next is the upper deck. Again work inside out!
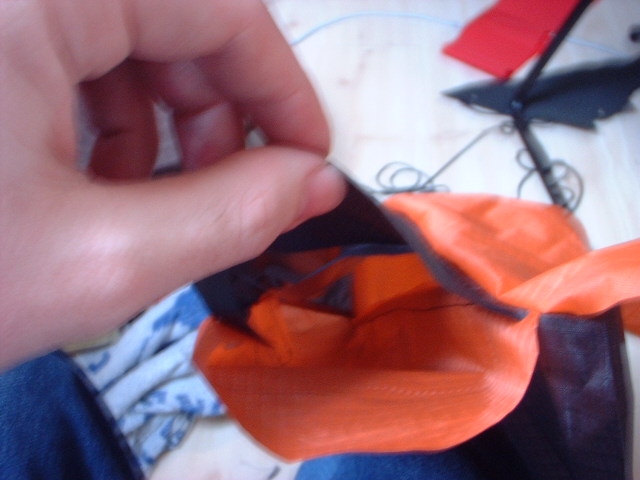
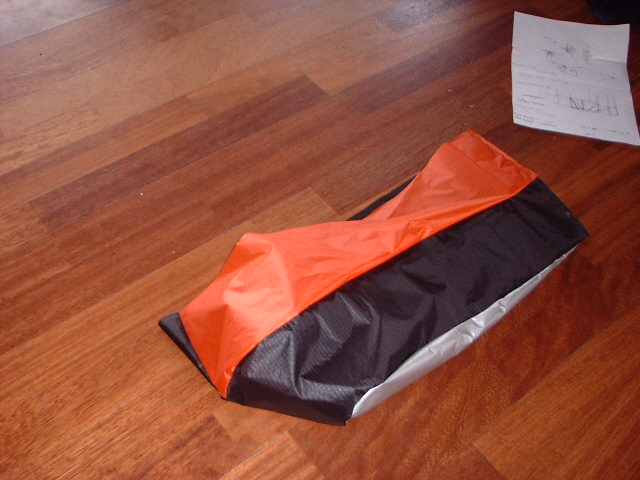
The ultimate demonstration on working inside out.
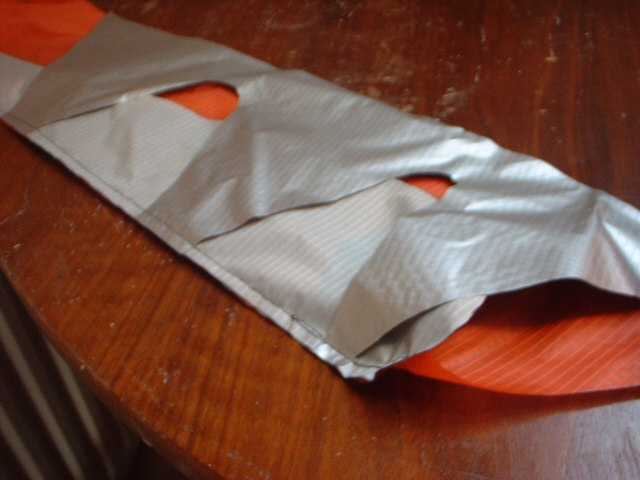
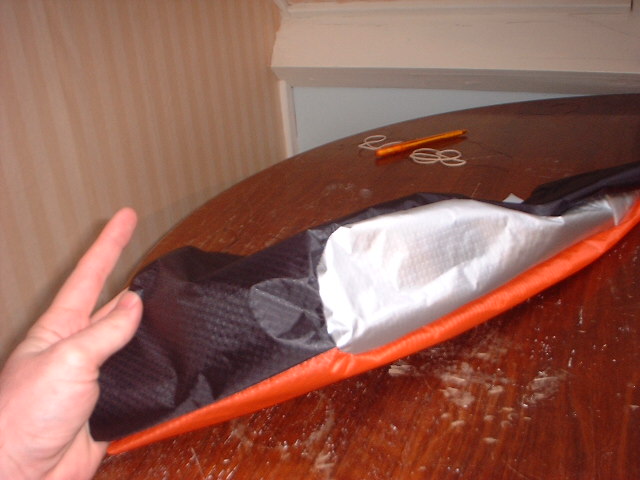
Bent it back again and apply the seam between the upper deck and the lower deck at the front side of the kite. Leave the back side (trailing edge) open. The trailing edge is finshed at the end. You can clearly see the D-rib hanging loose (having the time of his life) in the cell. It will be attached to the the top of profile #2.
I applied the second cell upper and lower deck. This picture shows the seam between the upper and lower deck (2nd cell) on the front side of the kite. You can clearly see that the rest of the kite is stuffed inside out.
Pictures of the inside of the first cell from the back of the kite. You can see the D-rib diagonal in the cell.
The inside of the second cell. I forgot to cut the holes in profile #2. You can use a solder Iron to do this.
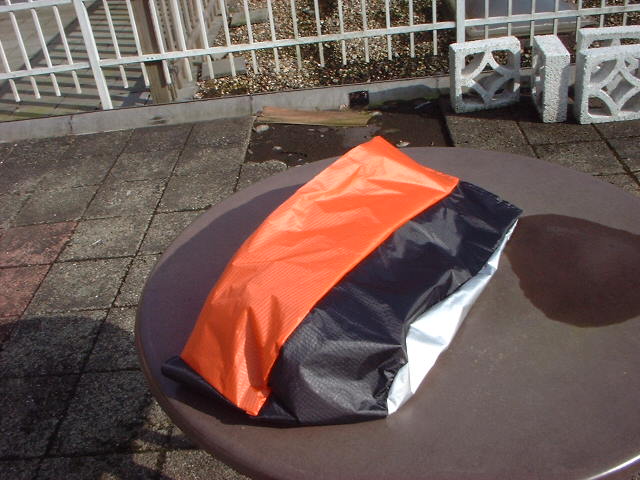
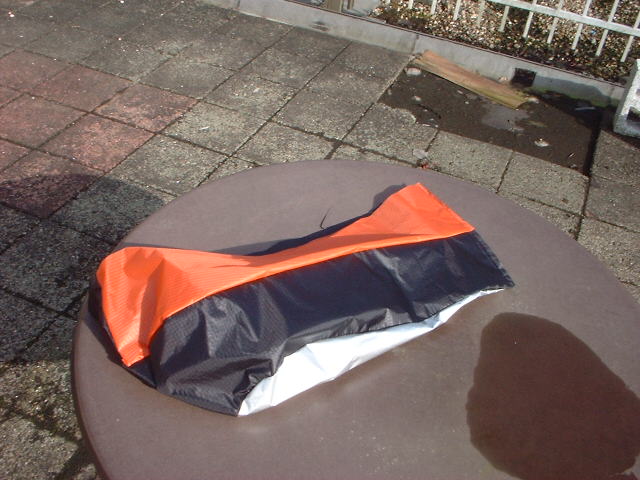
My finished trial version! (I closed the back of the kite, normally you have to finish the whole kite before you can do this).
You can see the D-ribs in the first cell.
Kites always look better in the sun!
The End