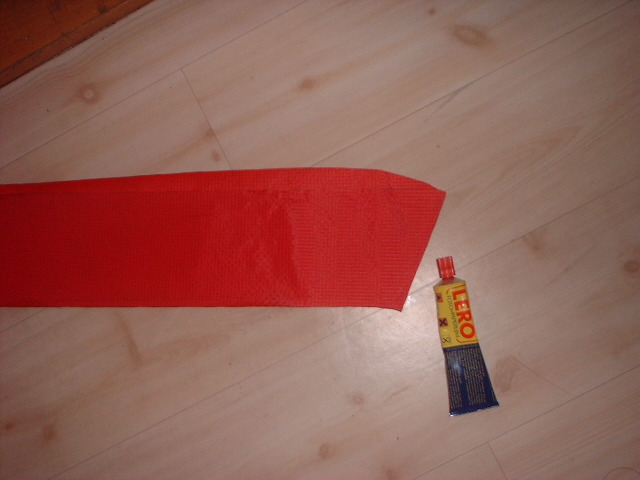
Step 3, Making the second cell...
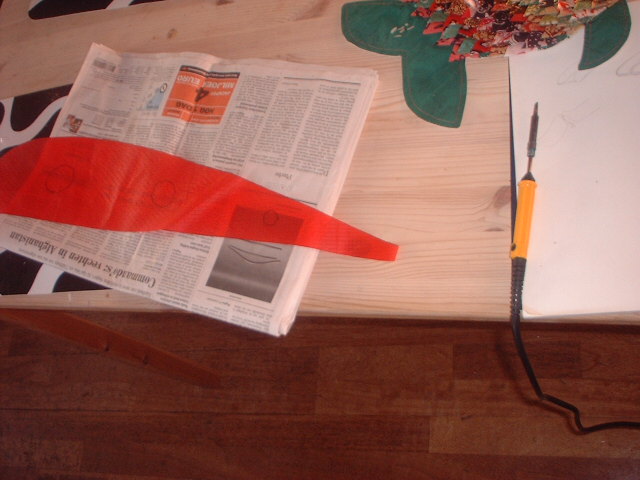
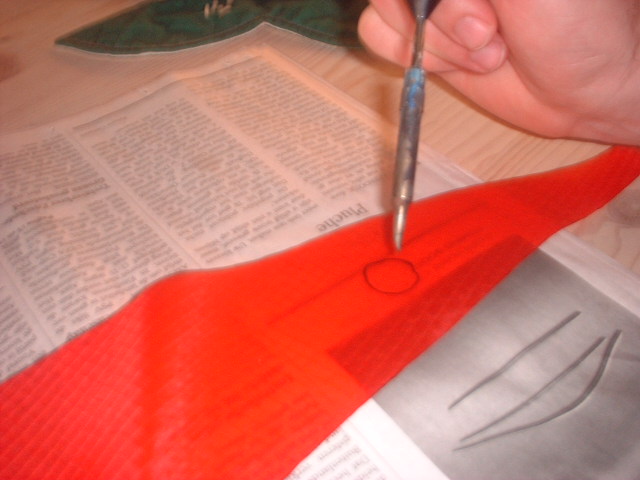
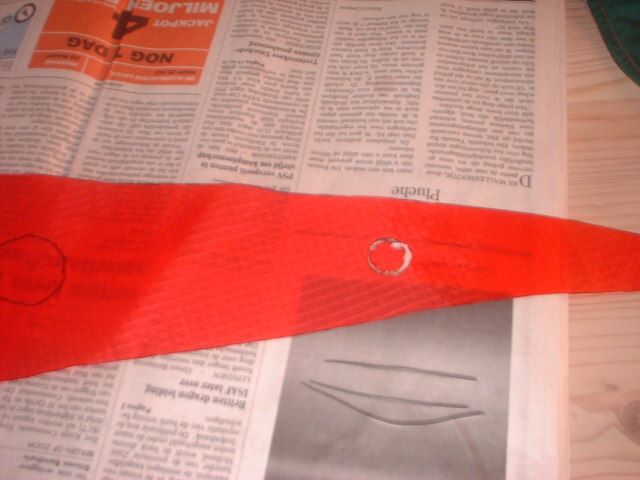
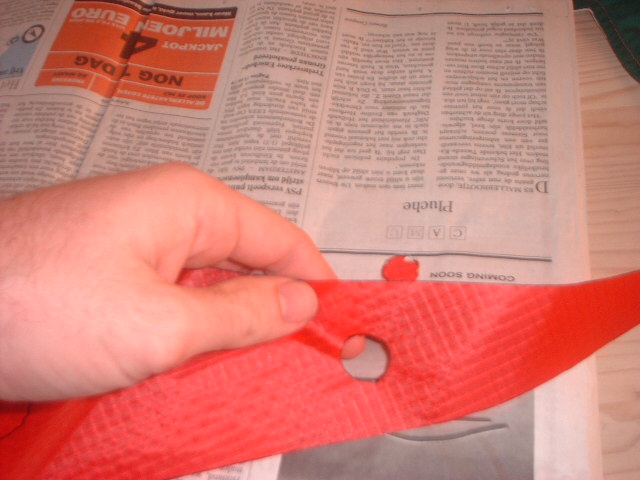
For the profile in between the first and the second cell we need to make "holes", else the cell will never be inflated. I use a solder iron to do this.
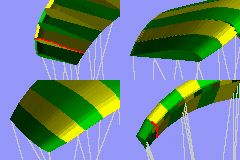
Seam I - upper & lower deck
The first step is again sewing the upper deck and lower deck to each other. On the picture below the seam is indicated in "red".

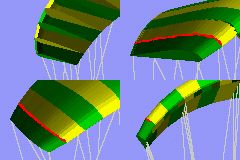
Seam II - profile & lower deck
Secondly the lower deck of cell 1 is sewn to the lowerdeck of cell 2 and the profile.
On the picture below the seam is indicated in "red".
The order is here: lowerdeck cell 1 (outside on top) - lowerdeck cell 2 (outside on bottom) - profile.
In retrospect: it is easier to have the profile on the bottom. This way the seam is latter on the outside of cell 1.
Seam III - profile & upper deck
Next step: sewing the upper decks to the profile. On the picture below the seam is indicated in "red".
This is a bitch because you have to include the D-ribs on the correct moment. That's why you see four layers. Order: upperdeck cell 2 - upperdeck cell 1 - D-rib - Profile.
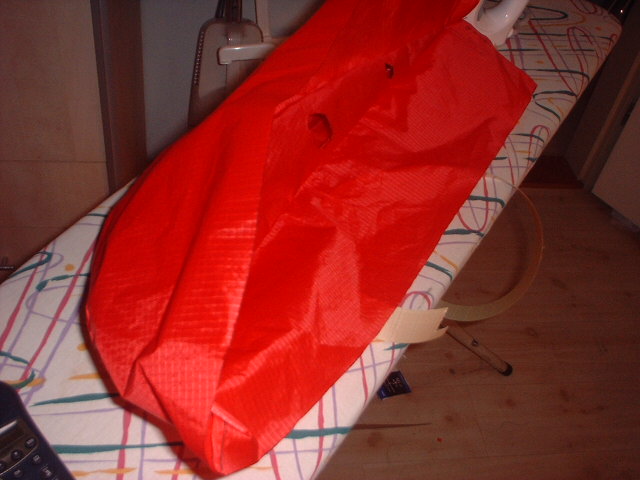
The preliminairy end result: A closed up cell.