Step 2, Making the first cell...
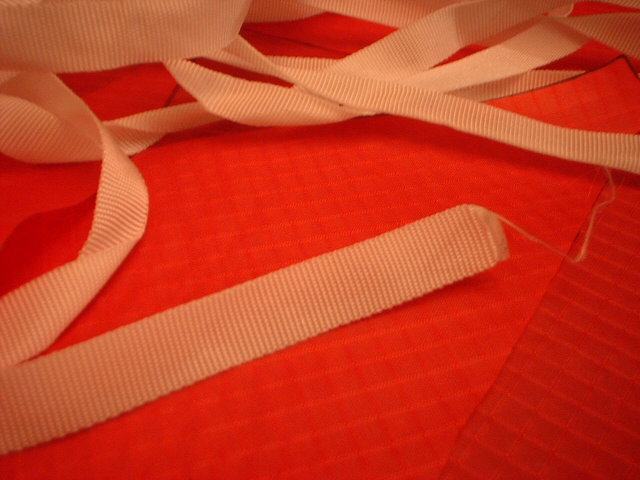
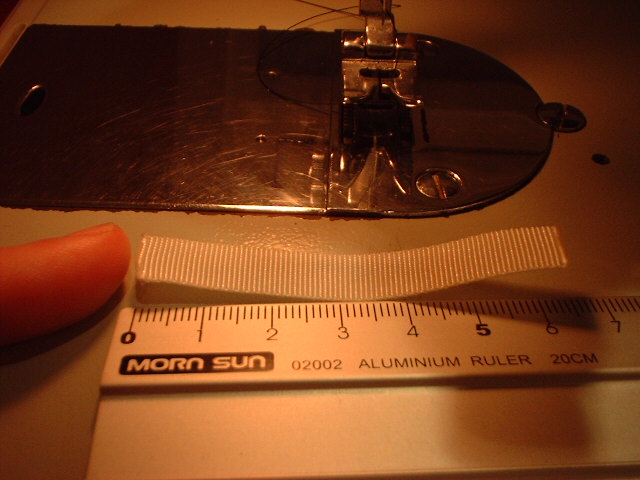
Before starting with the next phase we first need to make bridle-straps ("lusjes") to attach the bridle ("toom"). They are made using synthetic "zoomband" of 1 cm wide. The straps in the first (and last) cell only need to be 6 cm long (almost no force on the bridle). The straps in the other cells need to be 20 cm long (10 cm folded).
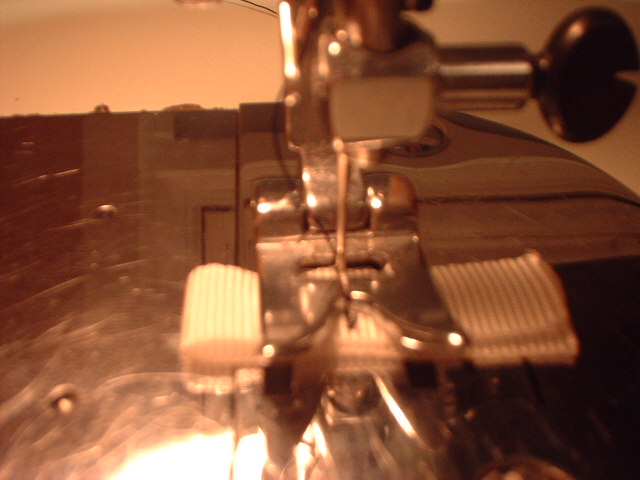
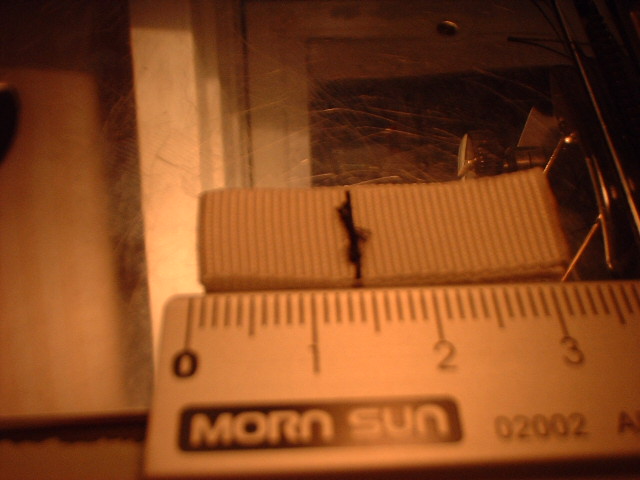
The "zoomband" is folded and a seam is made 14 mm from the bend. Each cell (the ones with a bridle that is) has 4 straps.
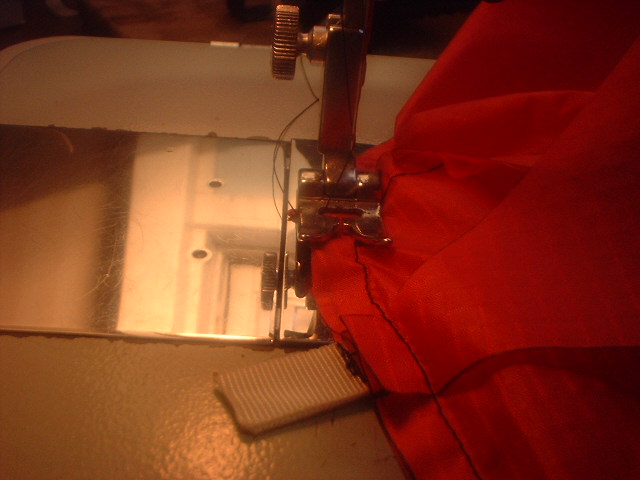
Seam I - upper & lower deck
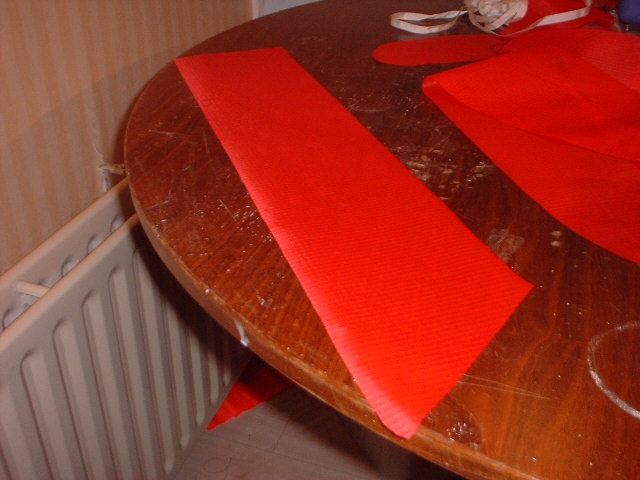
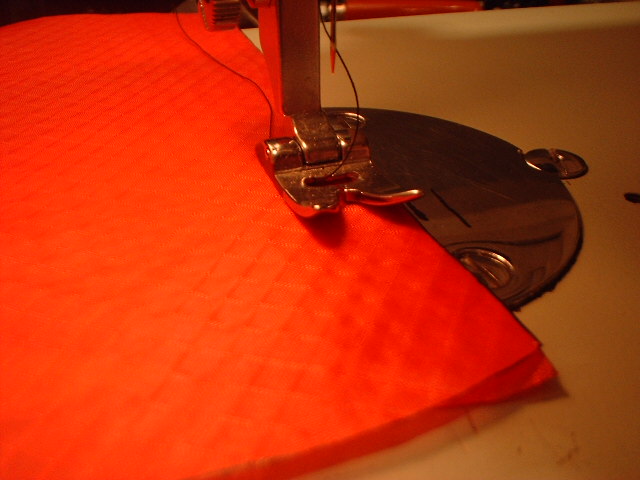
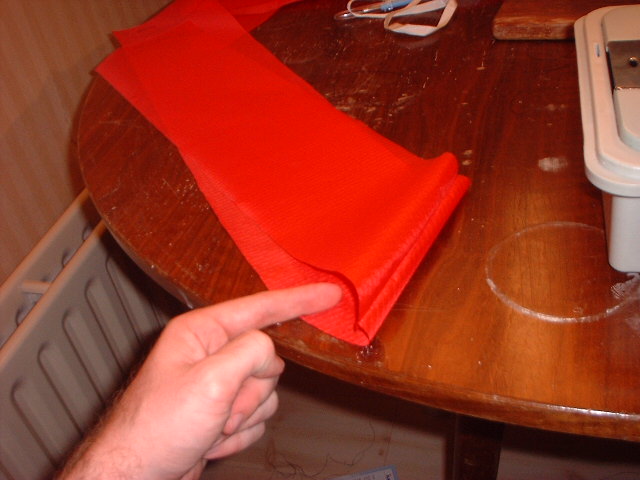
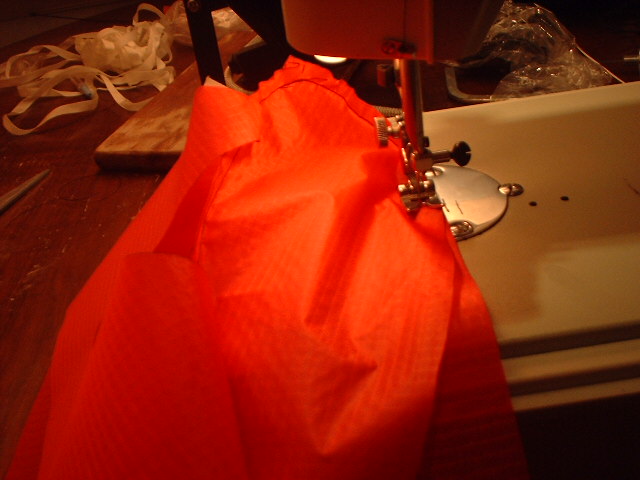
The upperdeck and lower deck is sewn together at the leading edge (front side of the kite).
On the picture below the seam is indicated in "red".

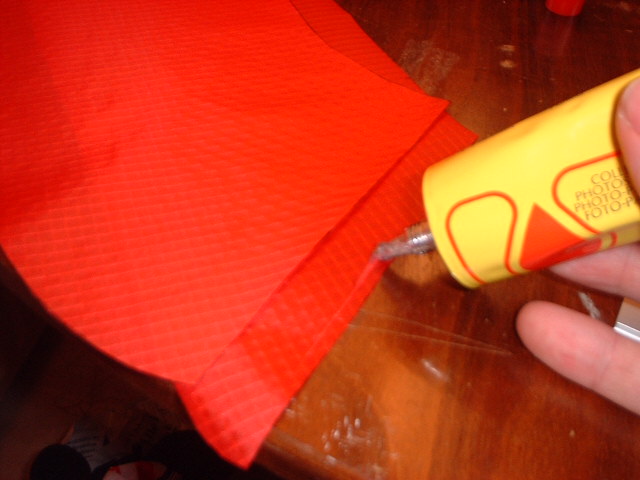
If you are confident enough you can do it without pre-glueing. I kinda like it.
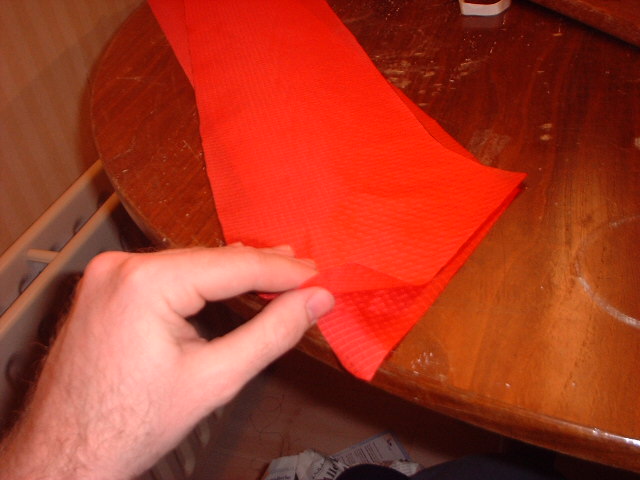
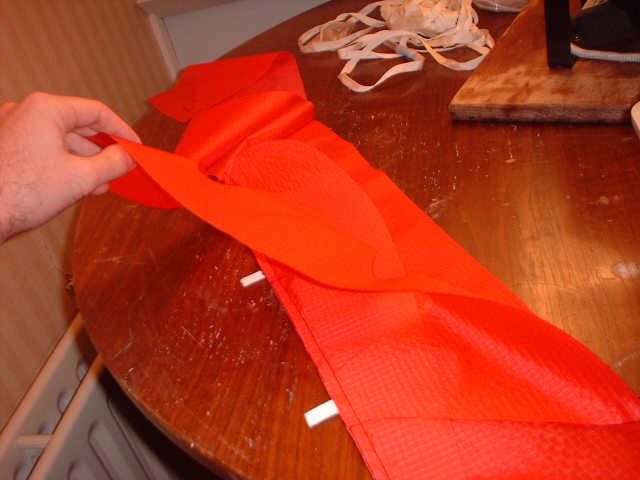
Place the upper and lower deck back-to-back.
The trick with making foils is that you do everything "inside-out". This way all the seams get on the inner side of the kite.
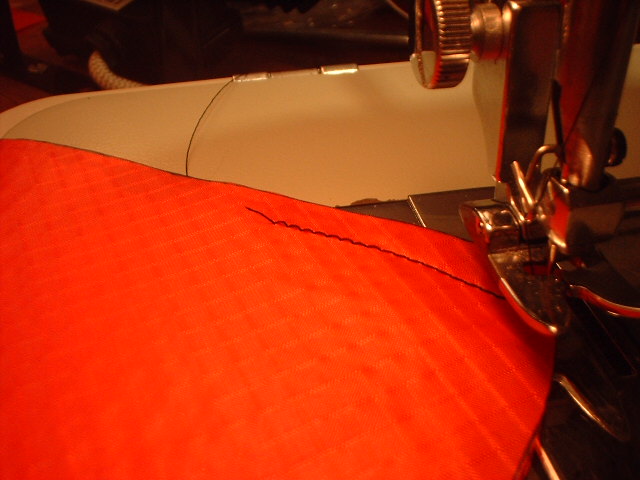
I always start a seam 2 cm from the end towards the end. At the end I turn the cloth and sew back to where I came from. This way the ends of your stiches don't get loose...
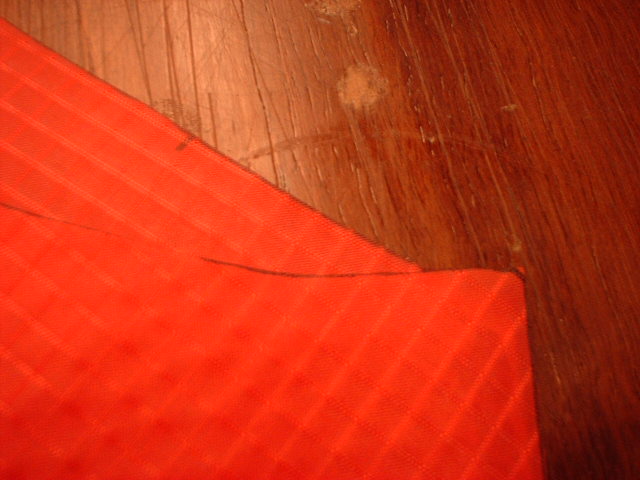
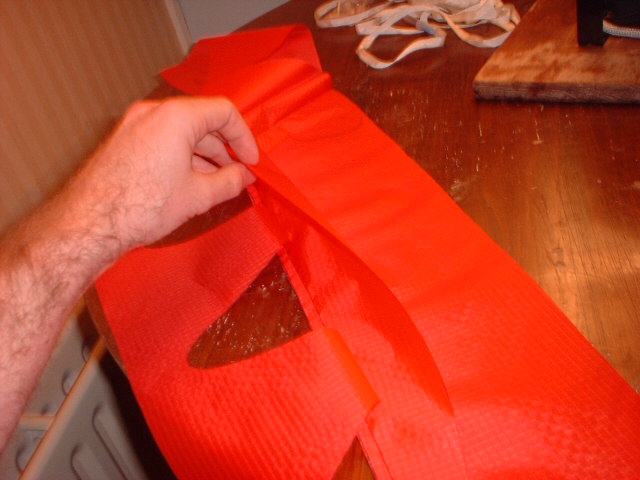
Here I fold them back to the normal position to show how they will look finally.
Seam II - profile & lower deck
Fold the lower and upper deck open and place the profile on top of the lower deck. Remember: "inside-out"!!
On the picture below the seam is indicated in "red".

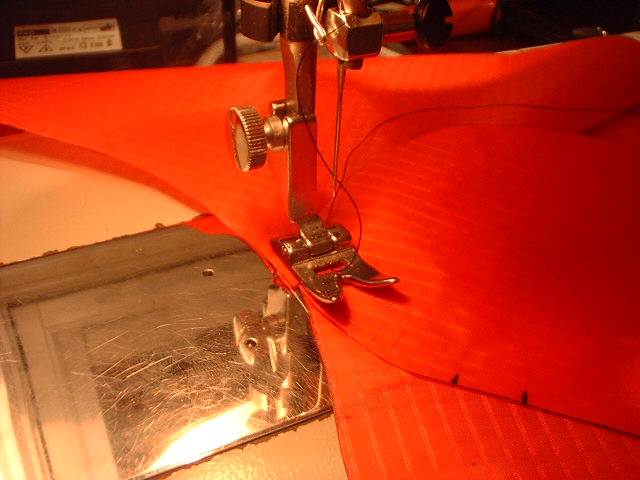
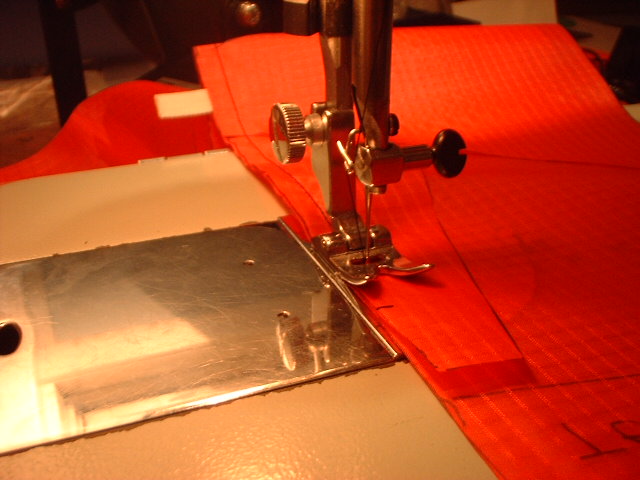
Align the edge of the lower and upper deck with the proper mark on your profile.
The sharp bend in the beginning is a bitch. It is very difficult to sew a round piece on a straight piece. Sew slowly and readjust the pieces of cloths every 3 mm or so.
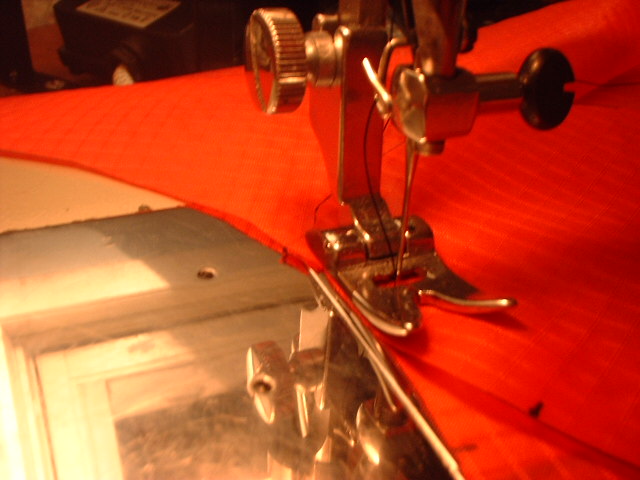
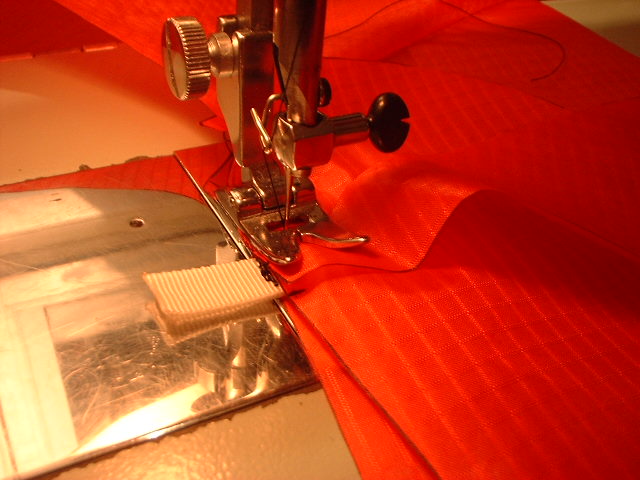
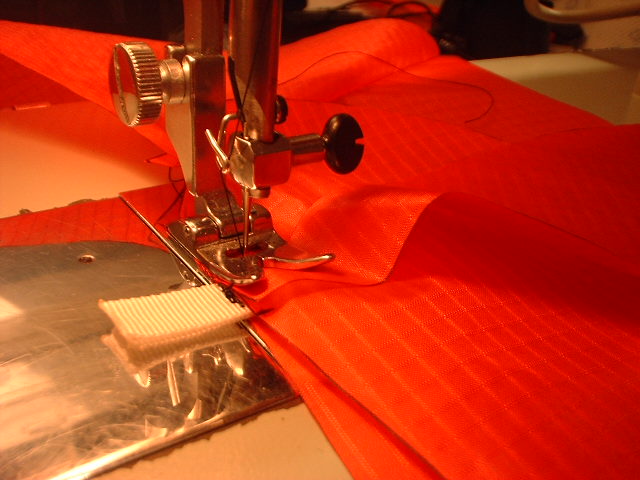
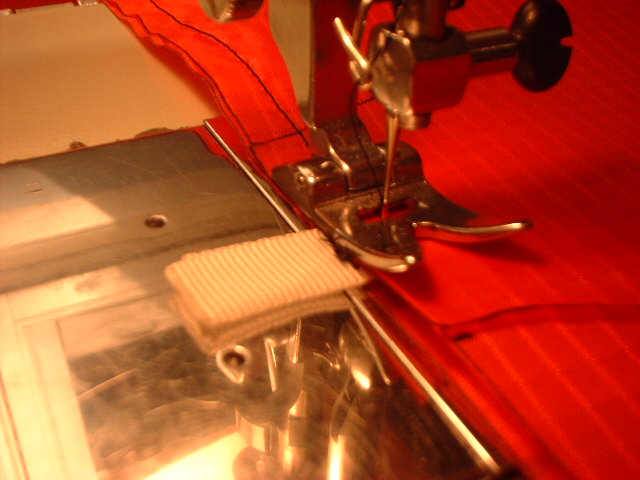
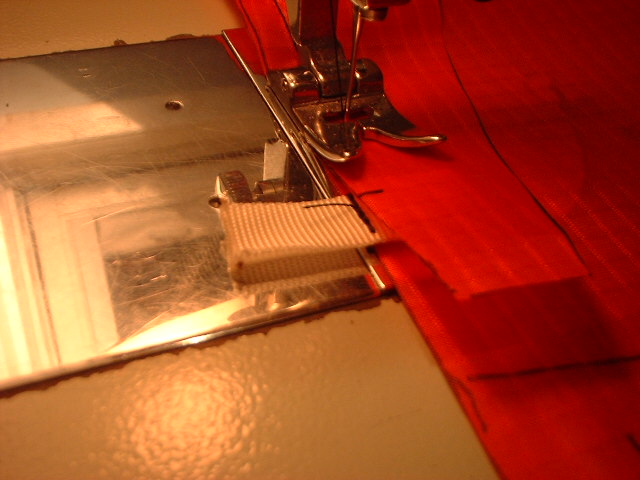
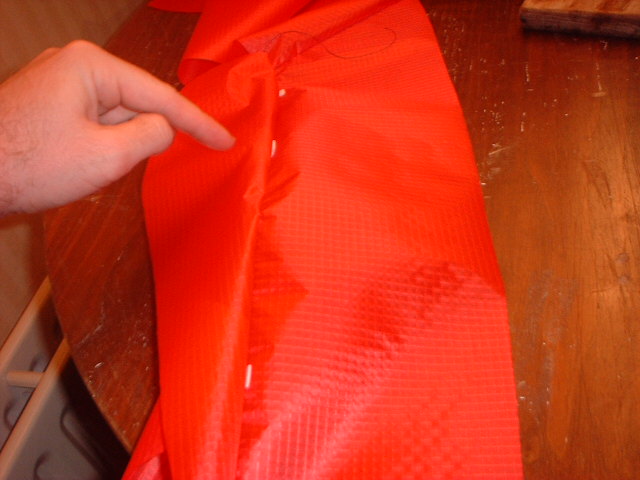
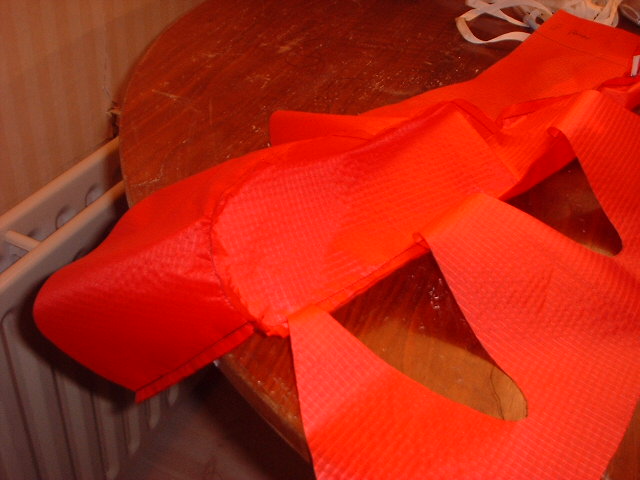
When you reach the marker for the D-rib (and the strap) place the D-rib on top of the layers and the strap in between the profile and the lower deck. For the other cells (not the end ones) you need to place the D-rib under the lower deck (profile always needs to be either on top or on the bottom). For the end cells it doesn't really mather. The strap need to be inserted until the seam lines up with the edges of the cloth. This way a 7mm strap will be present at the outside of the kite (14mm-7mm=7mm).
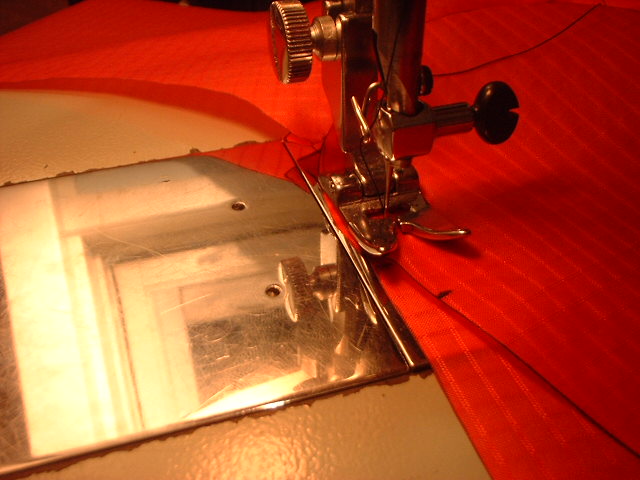
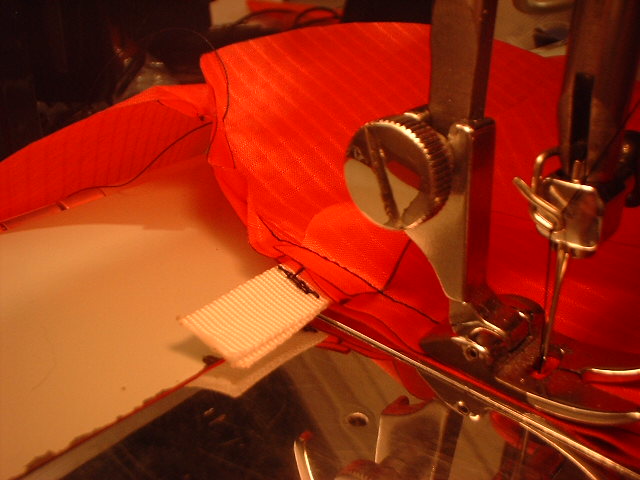
This is how the end result looks like. The stack is lowerdeck-straps-profile-D-ribs...
Seam III - profile & upper deck
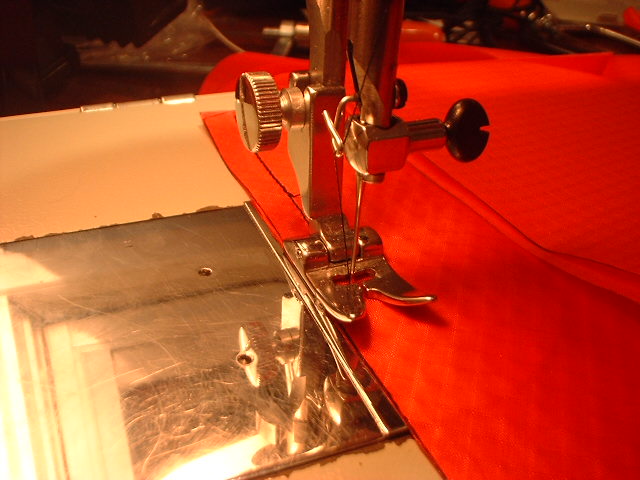
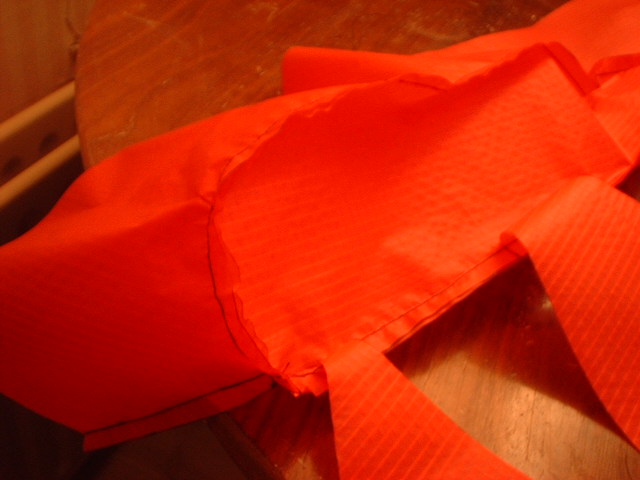
Next step is the seam between the profile and the upper deck.
On the picture below the seam is indicated in "red".

Again you start the seam at the front side of the kite (leading edge).
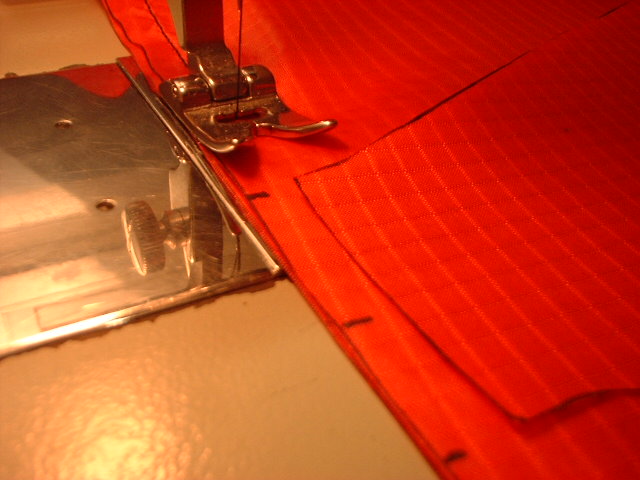
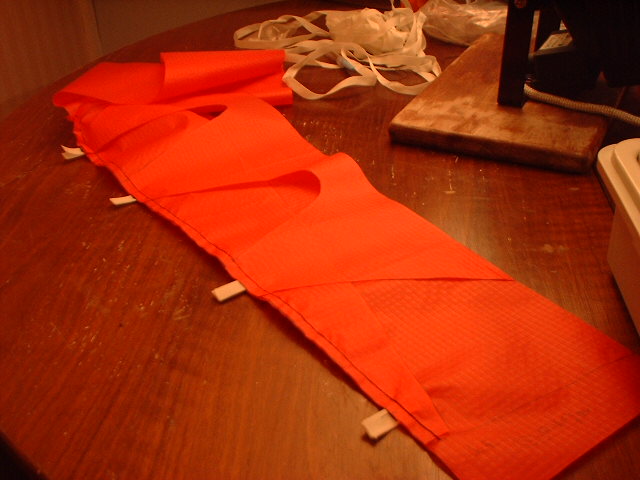
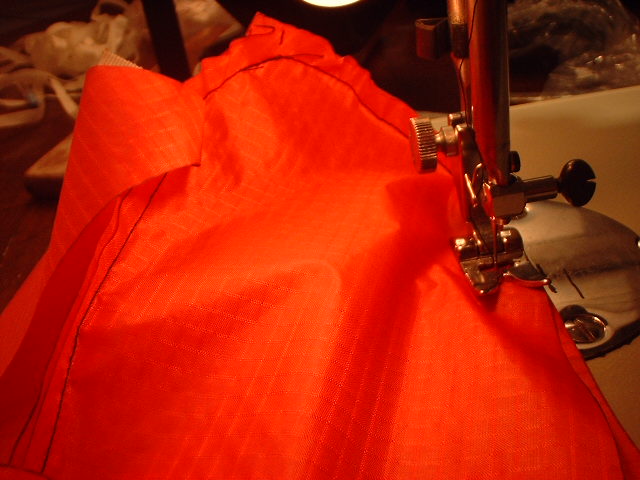
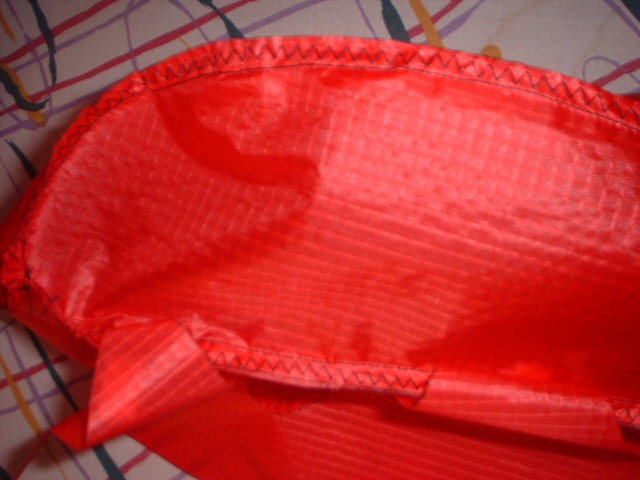
This is how the first cell looks like. As you can see we've always worked inside-out
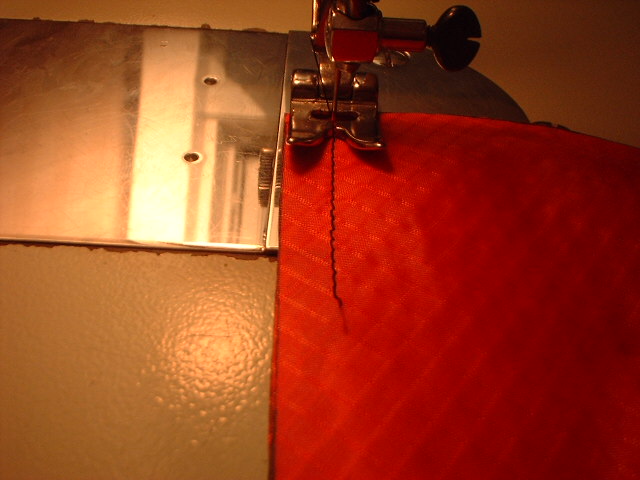
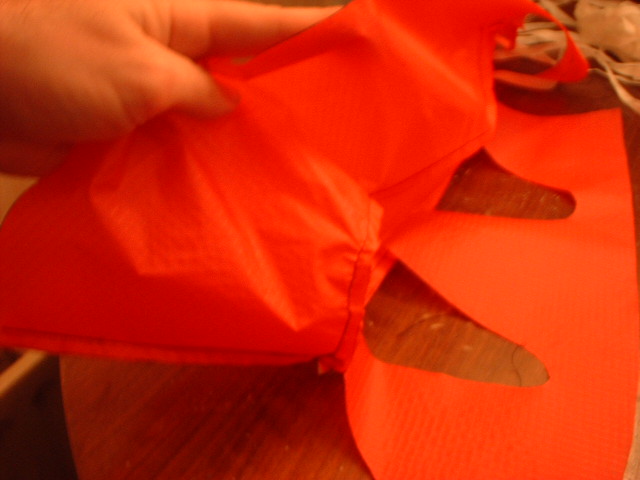
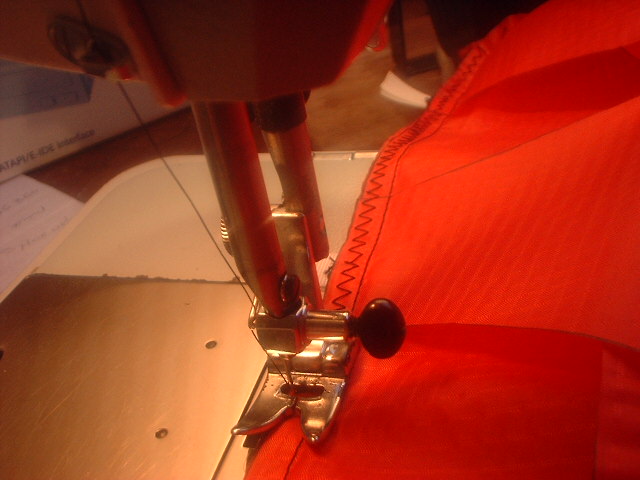
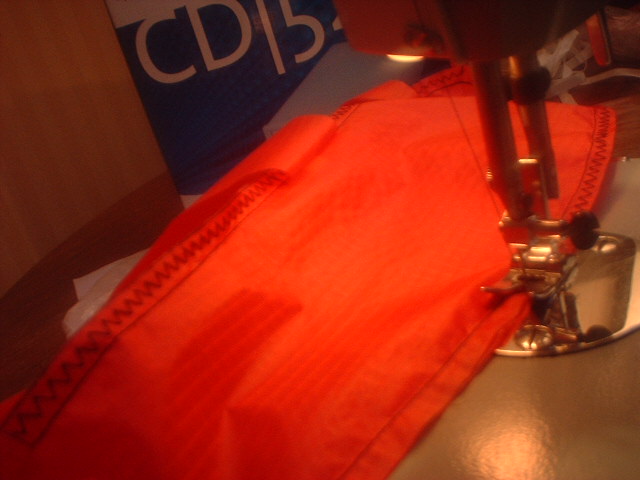
The next step is "zig-zagging" the seam. This way the kite is stronger...
In the leading edge (the boundary between the upper and lower deck) we sew a kevlar or mylar reinforcement strip.
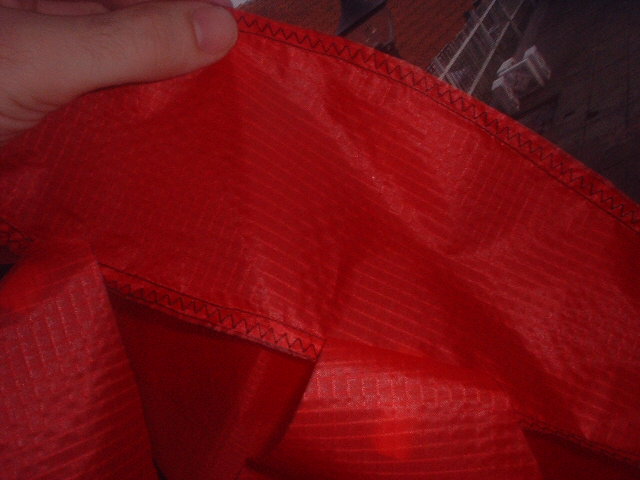
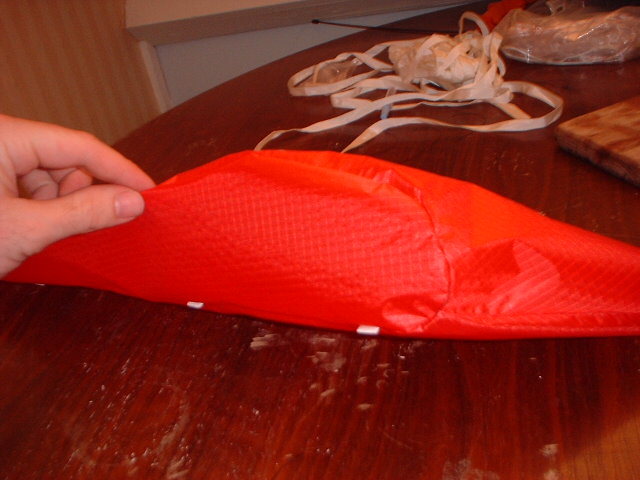
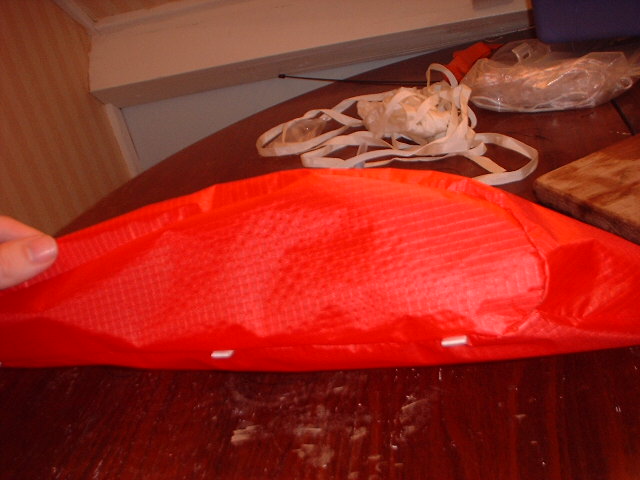
When you fold the kite inside-out you can see it's normal position again (you can see the straps coming out, this is the place where the bridle is attached later on)