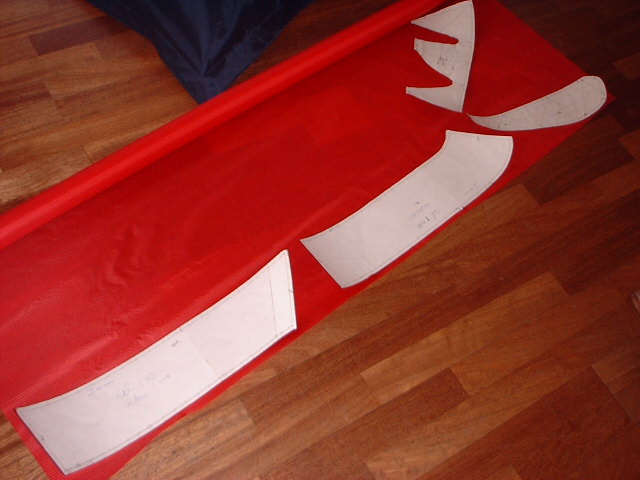
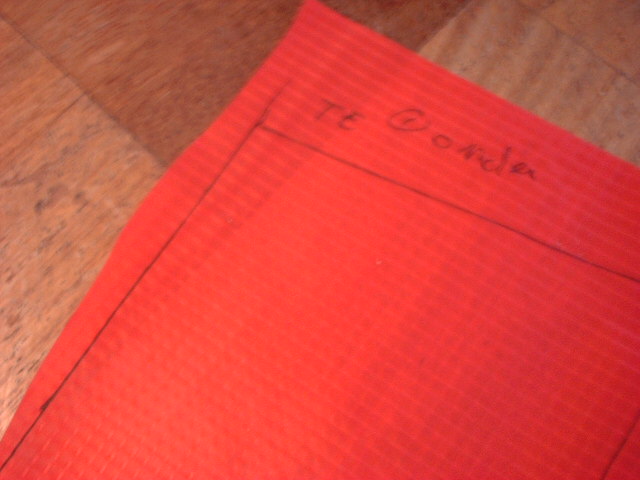
Step 1, transferring the templates to the fabric...
To have a common understanding of the names of all the parts see below.
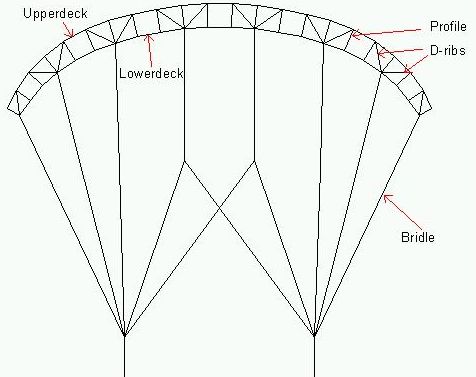
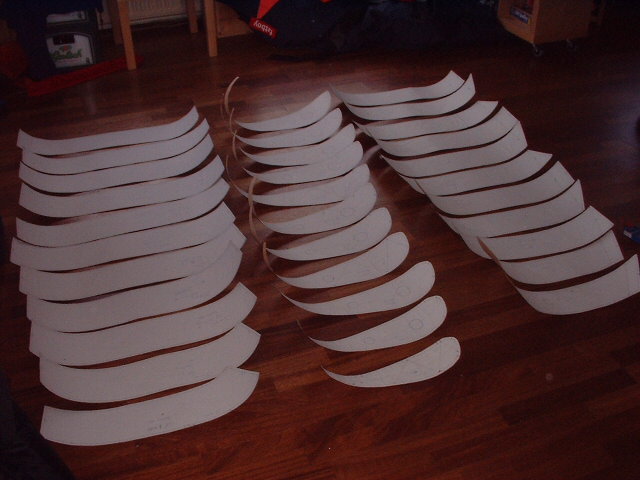
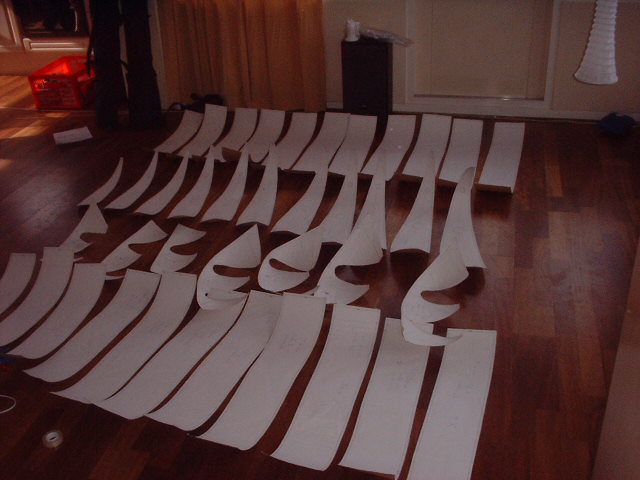
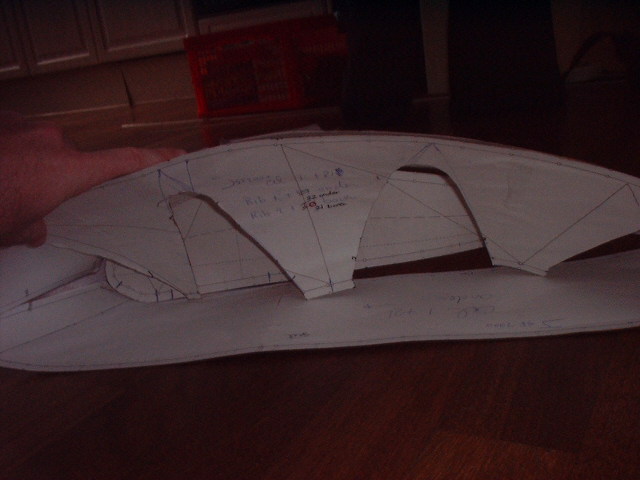
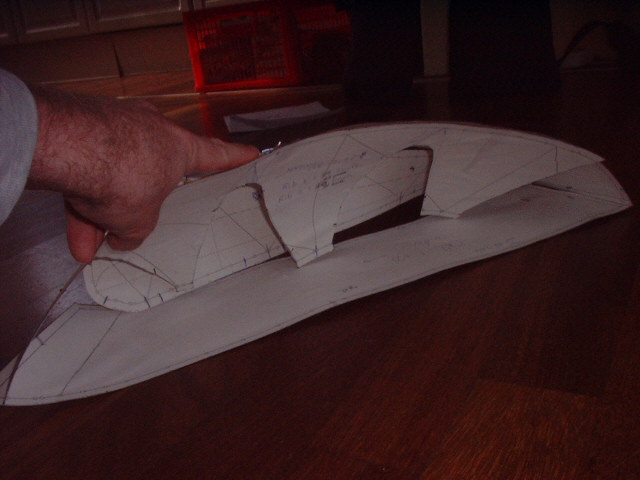
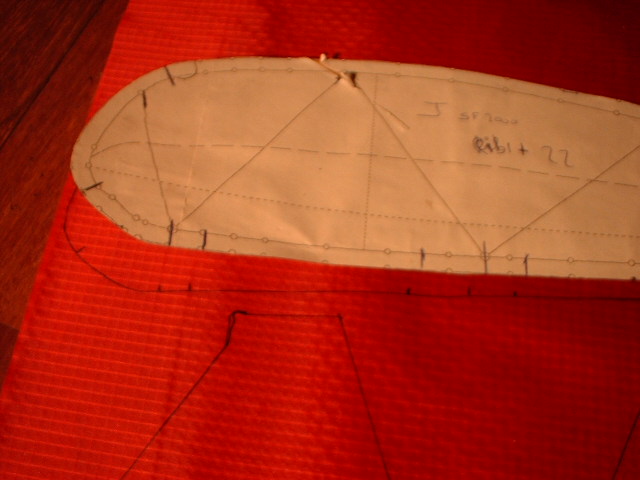
The templates ("mallen"). On the first picture you see (from left to right) the lowerdeck ("onderdek"), the profiles ("profielen") and the upperdeck ("bovendek"). On the second picture I've added the so-called D-ribs ("D-ribben"). The templates are made with a program called foilmaker (website toevoegen). With this program you can print out all the templates. You can glue these templates on cardboard and cut them out (you can use them several times!).
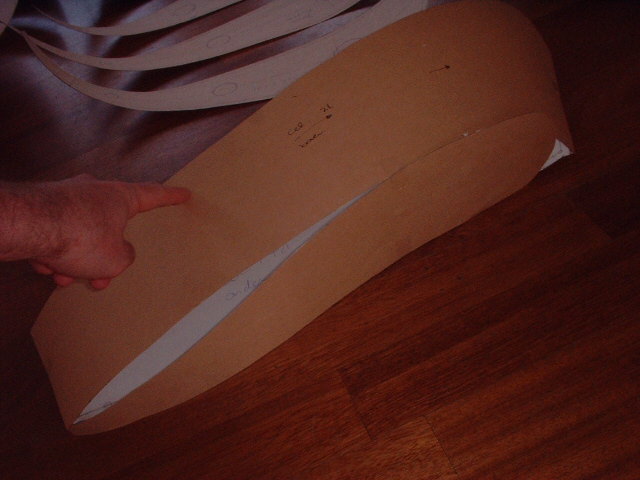
The templates are printed out on plain paper and glued on to cardboard. The templates are then cut out with a knife or a pair of scissors. Here I've put the templates together to show what the end result will be. The D-rib is placed diagonal into the cell. It's used to keep the cell from deforming.
Applying the templates to the chikara. You can either use a pencil (4B) or a marker.
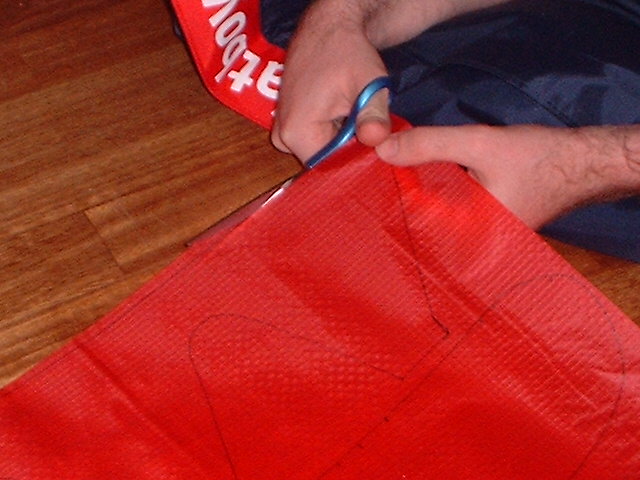
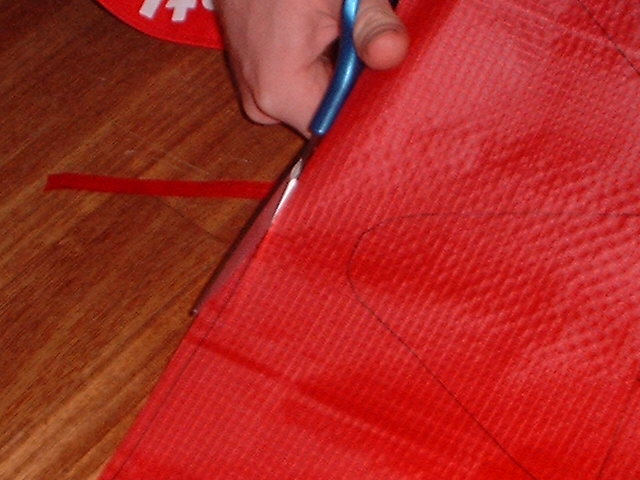
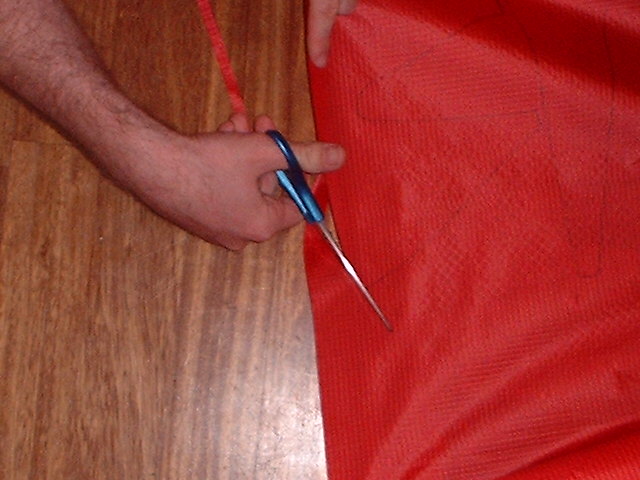
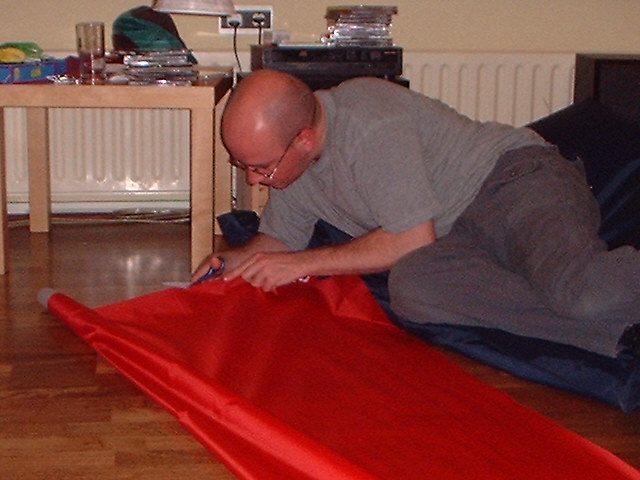
To cut the fabric I use a good pair of scissors. Some people use a welding iron, I prefer not to. The only time I use a welding iron is when I want to make holes. Included in the templates is a 7 mm seam allowance.
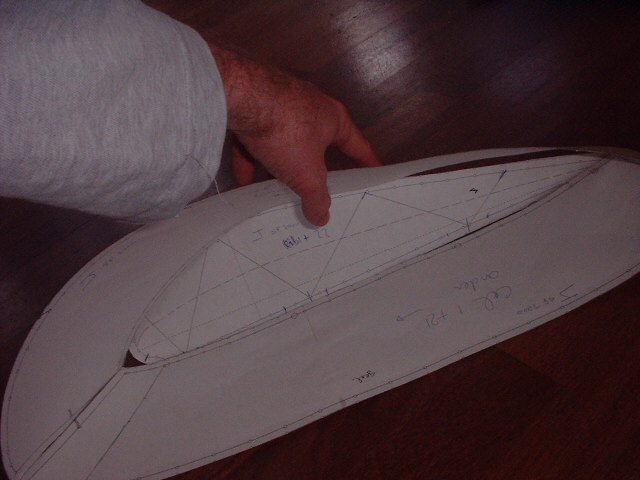
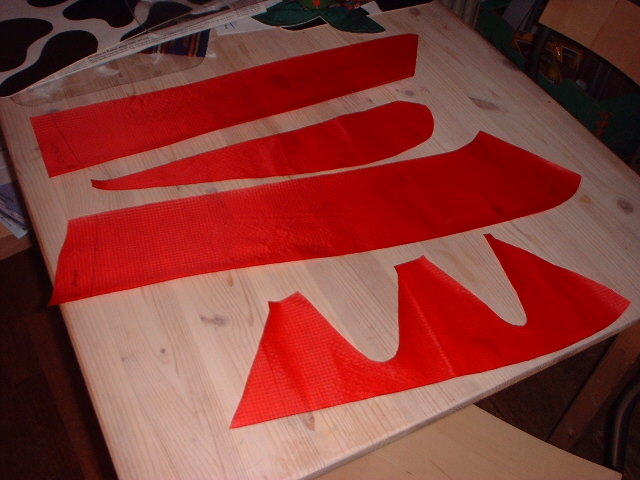
From top to bottom: lower deck, profile, upper deck and D-rib.